
Happy weekend to you all. I hope you are not melting from the scorching summer heat like we are! Would you believe me if I said we are expecting it to be 120 degrees tomorrow? I could probably bake these Mini Mason Jar Strawberry Pies outside, NO OVEN NEEDED. See, these hot days do come in handy if you just look for the good in them.
I have to tell you how these cute little pie guys came about. I was playing with play dough with my boys, and we had a couple old jar lids mixed in with the toys to use as circle cutters. We started to make little play dough pies using the lids as the pie dish, and the boys had so much fun learning how to weave a lattice top. Little boy #2 asked if we could use REAL pie dough, and so since it’s summertime and we have time for things like that, we tried it! They turned out SO cute, and the boys LOVED them, so I had to share them with you. I wish I’d taken a picture of the boys’ pies, but honestly they ate them right off the baking sheet in 10 seconds flat.
I’ve tried to include some step by step pictures in this post, because while these do take some time, the process is fairly simple if you have some visuals. If you like playing with play dough, you’ll have fun making these! Think of it as cheap therapy :0)
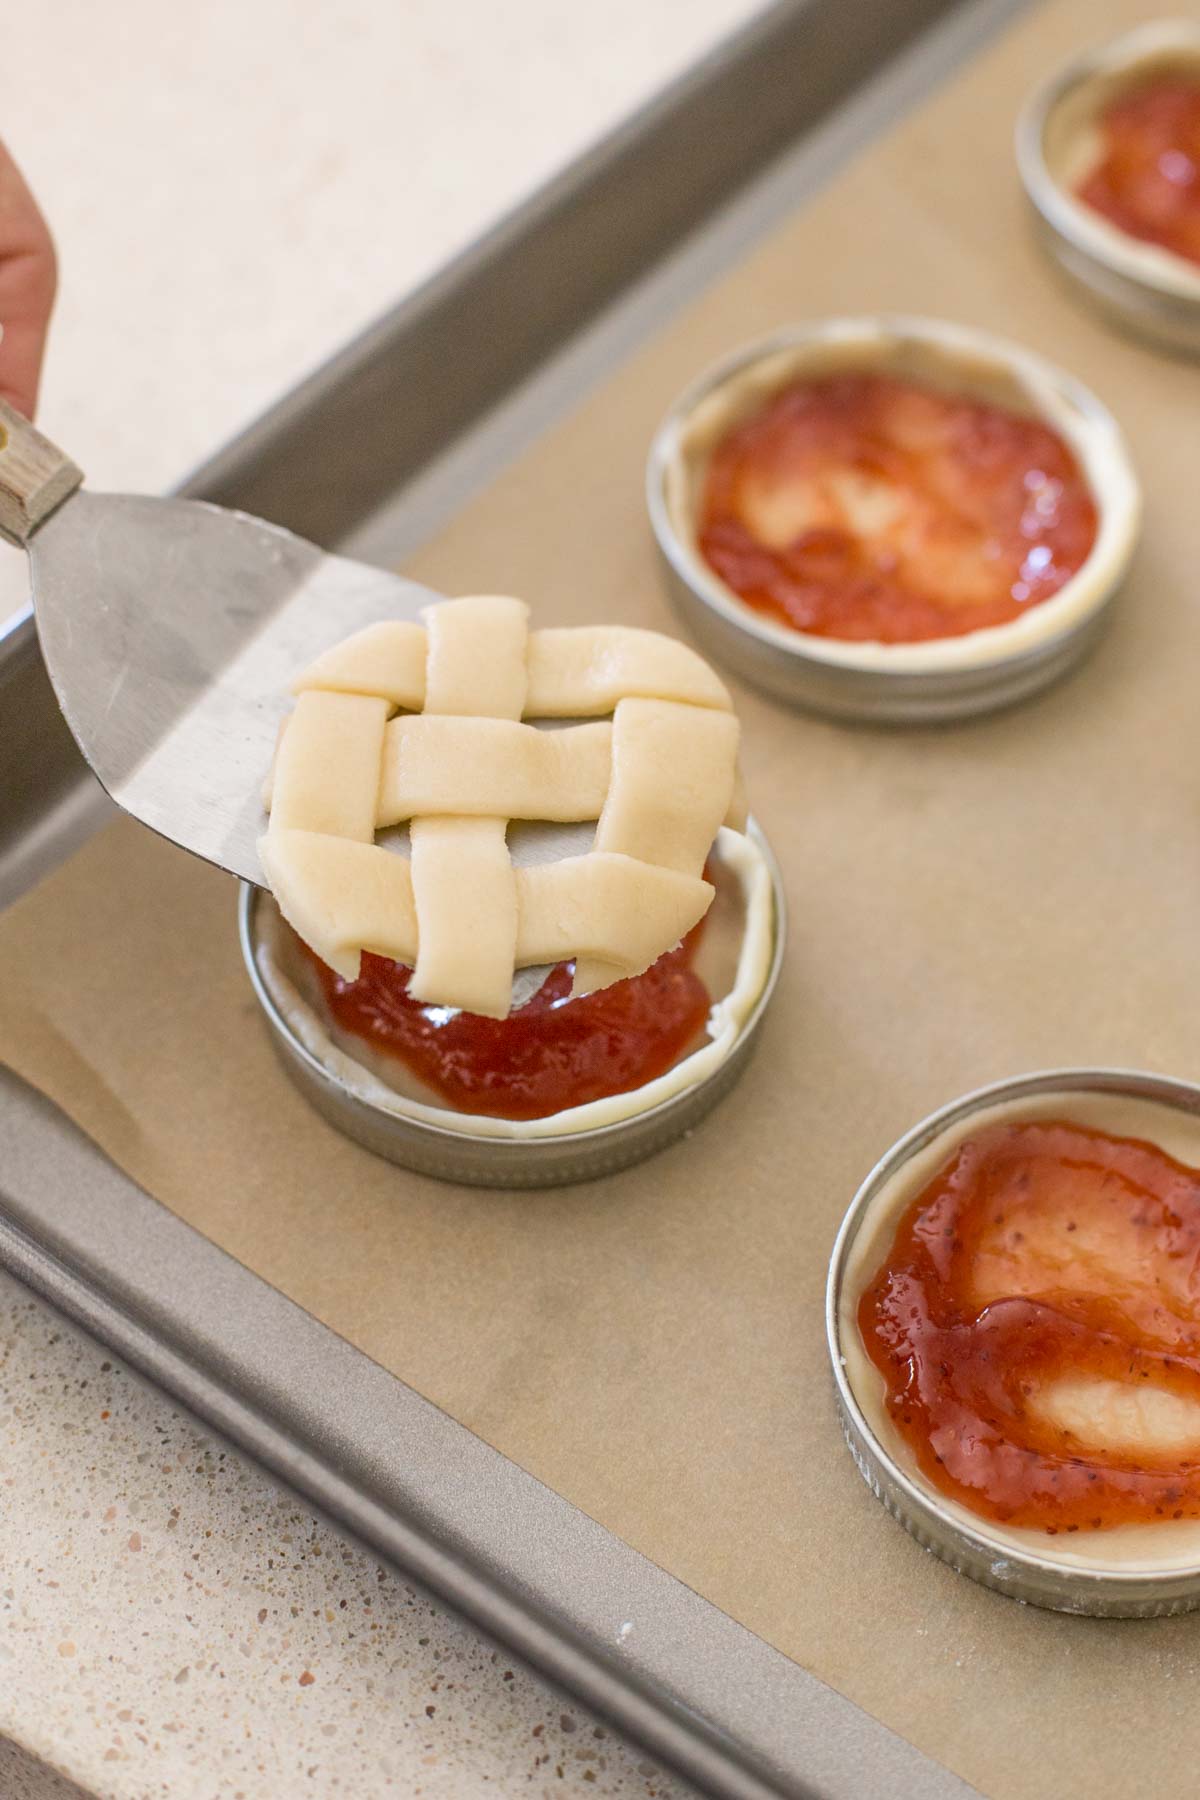
You could really use any kind of jelly, jam, or fruit preserves for the filling. Little Boy #1 wants to try filling them with caramel next time. The ratio of crust to filling in these is definitely in favor of the crust. It’s buttery, flakey and slightly sweet! I just love it.
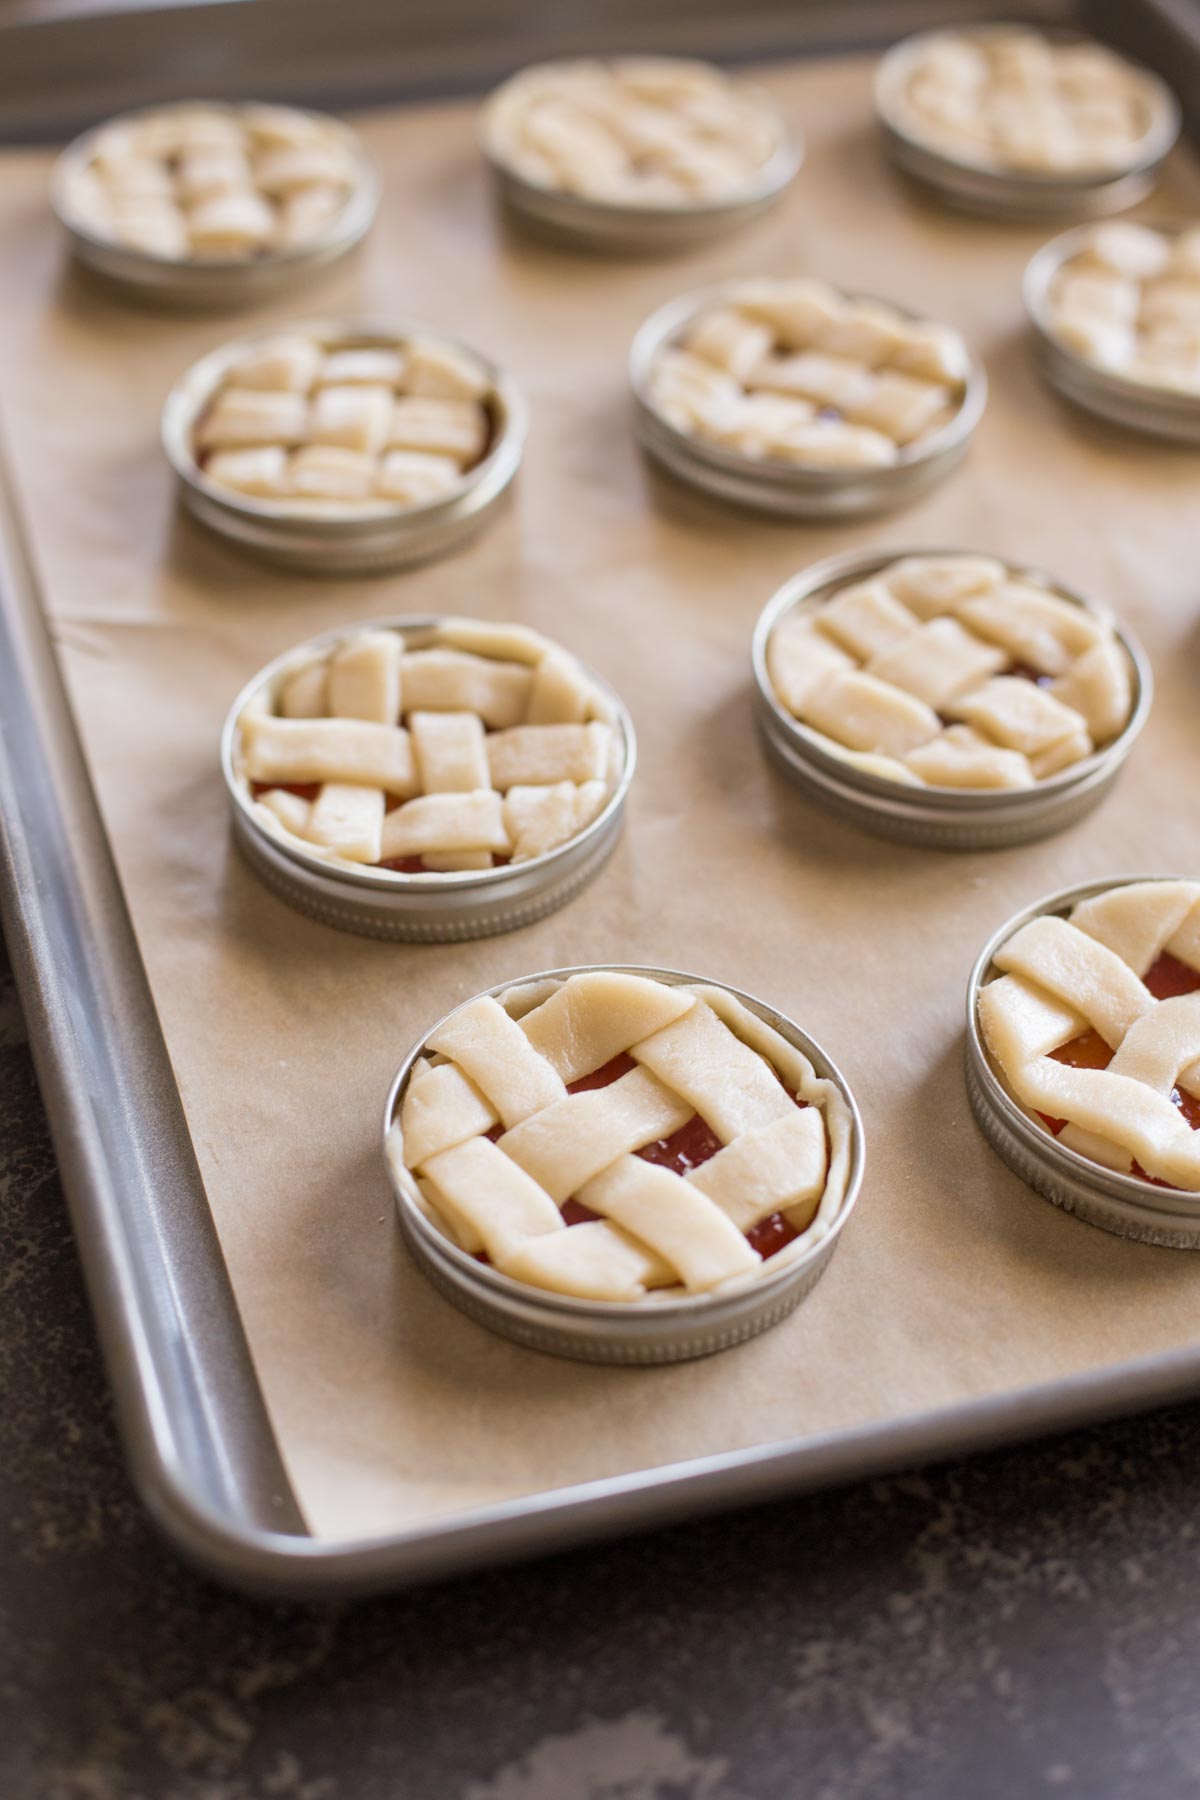
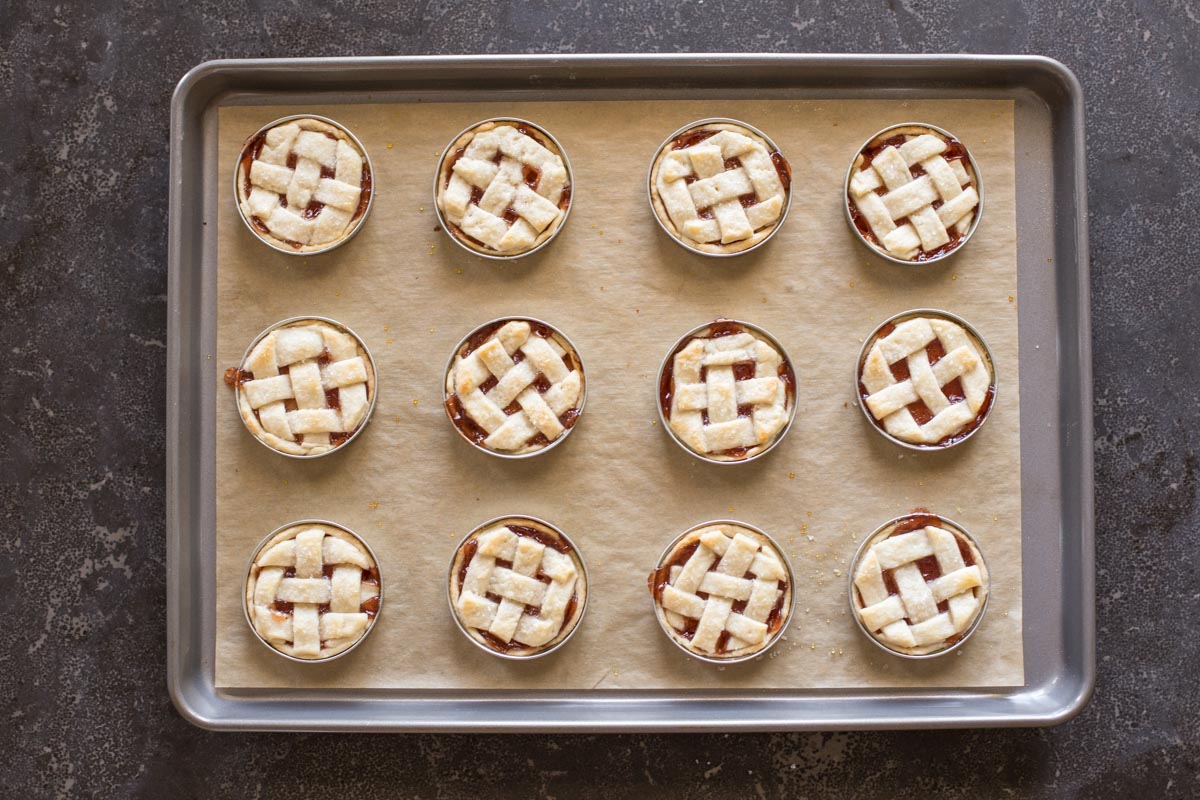
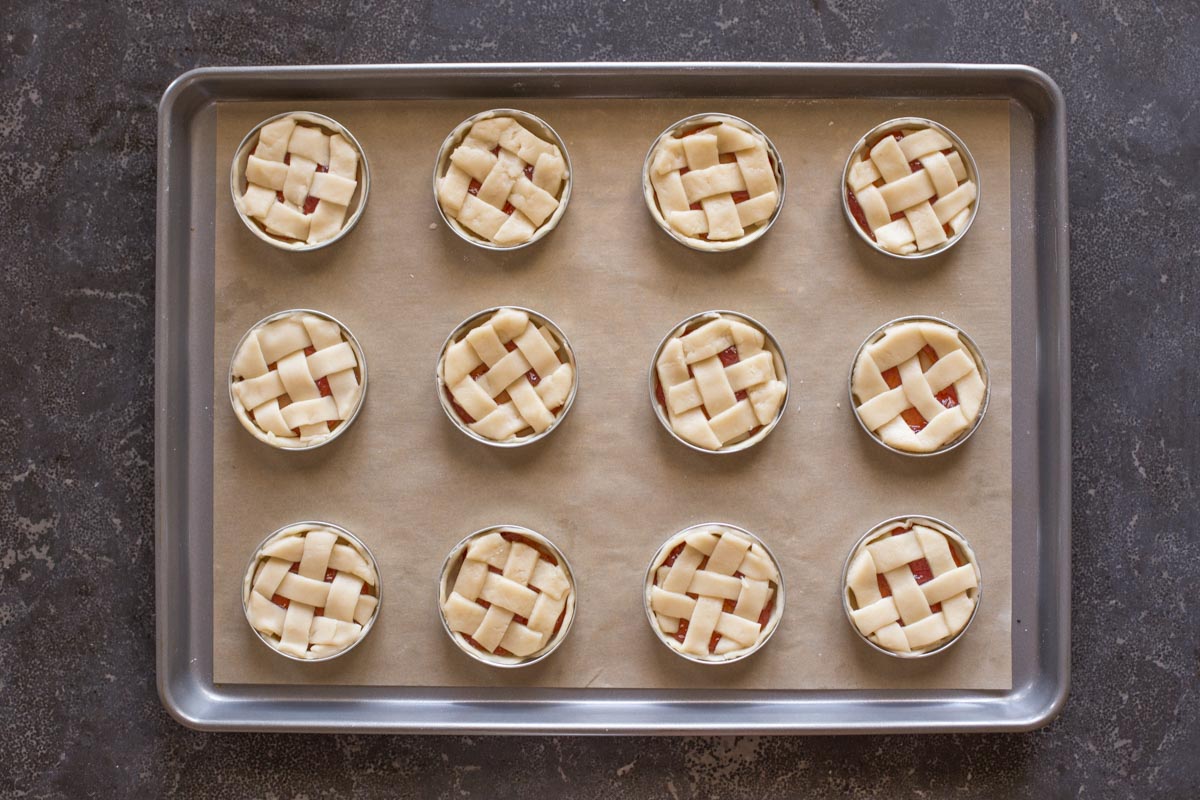
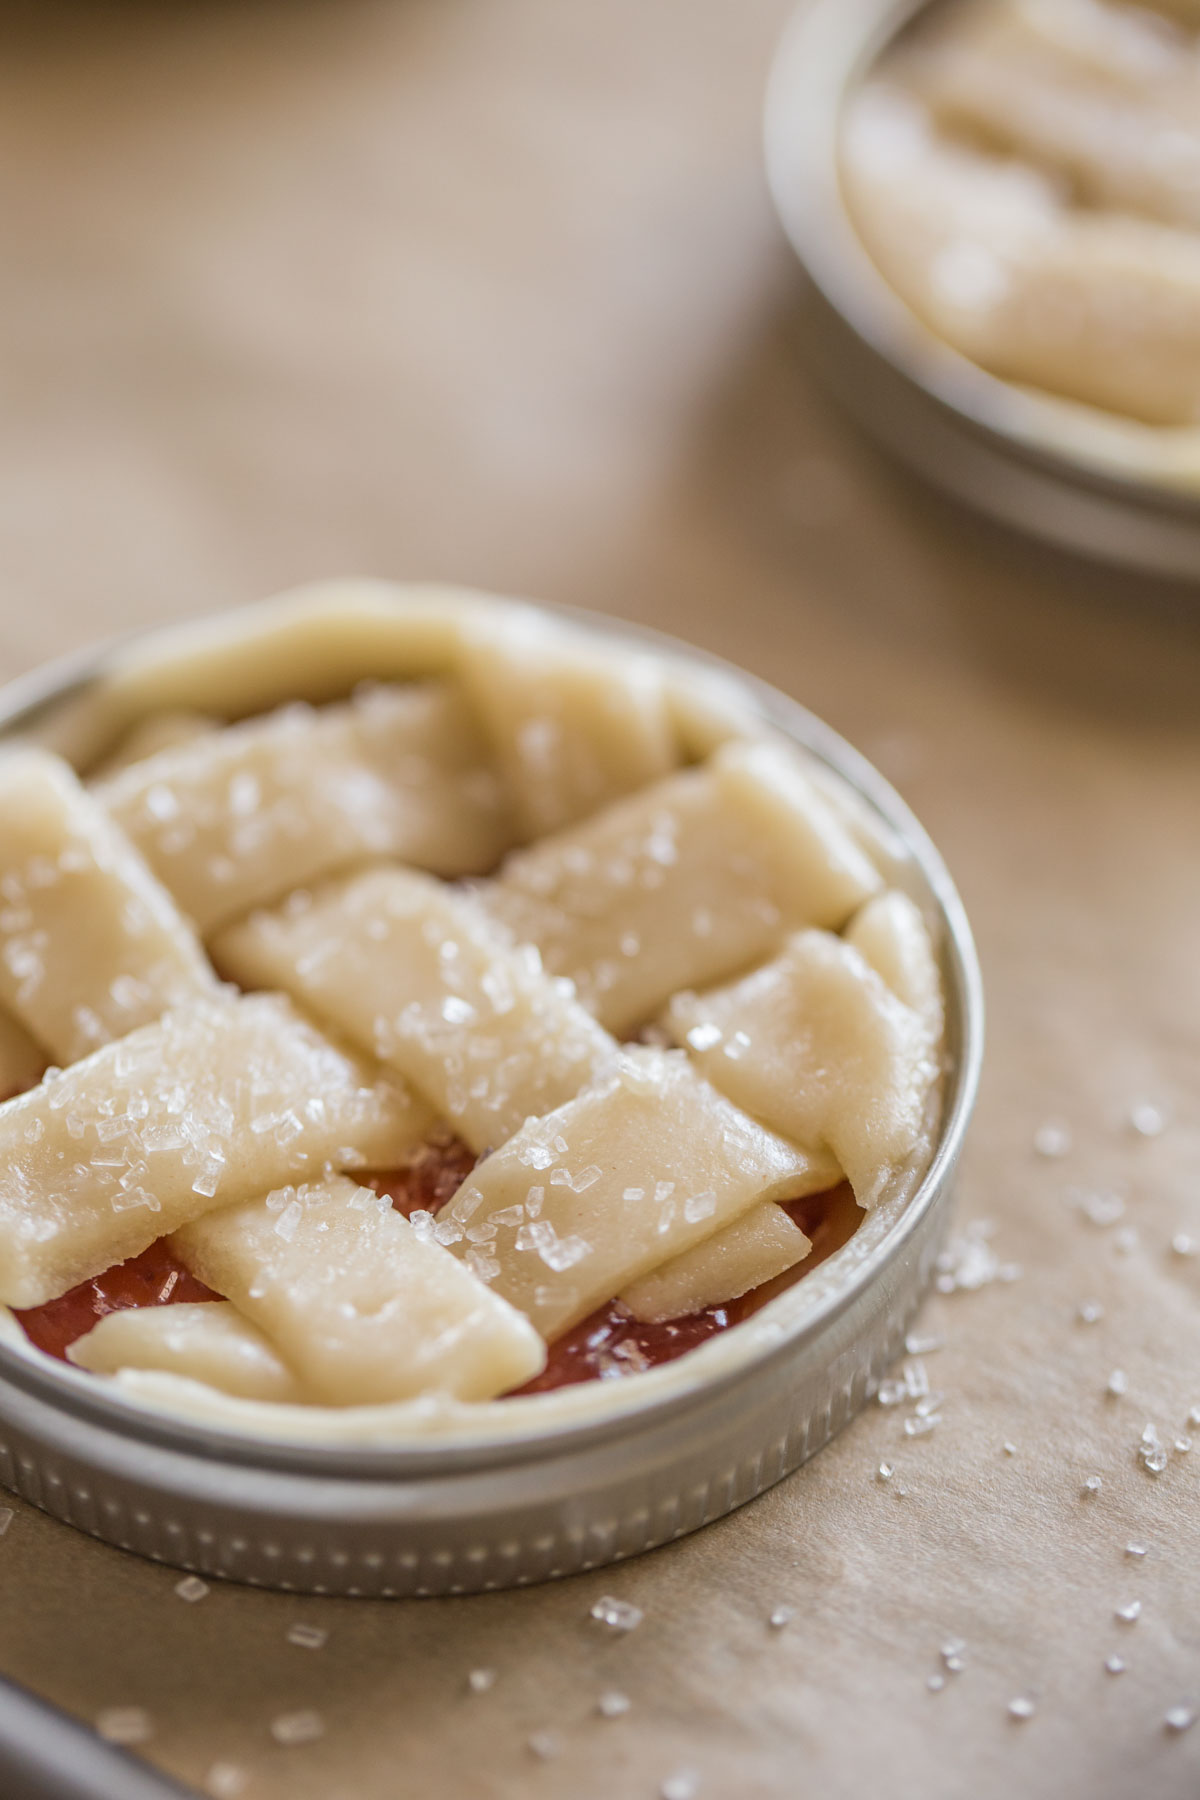
Ready for the oven!
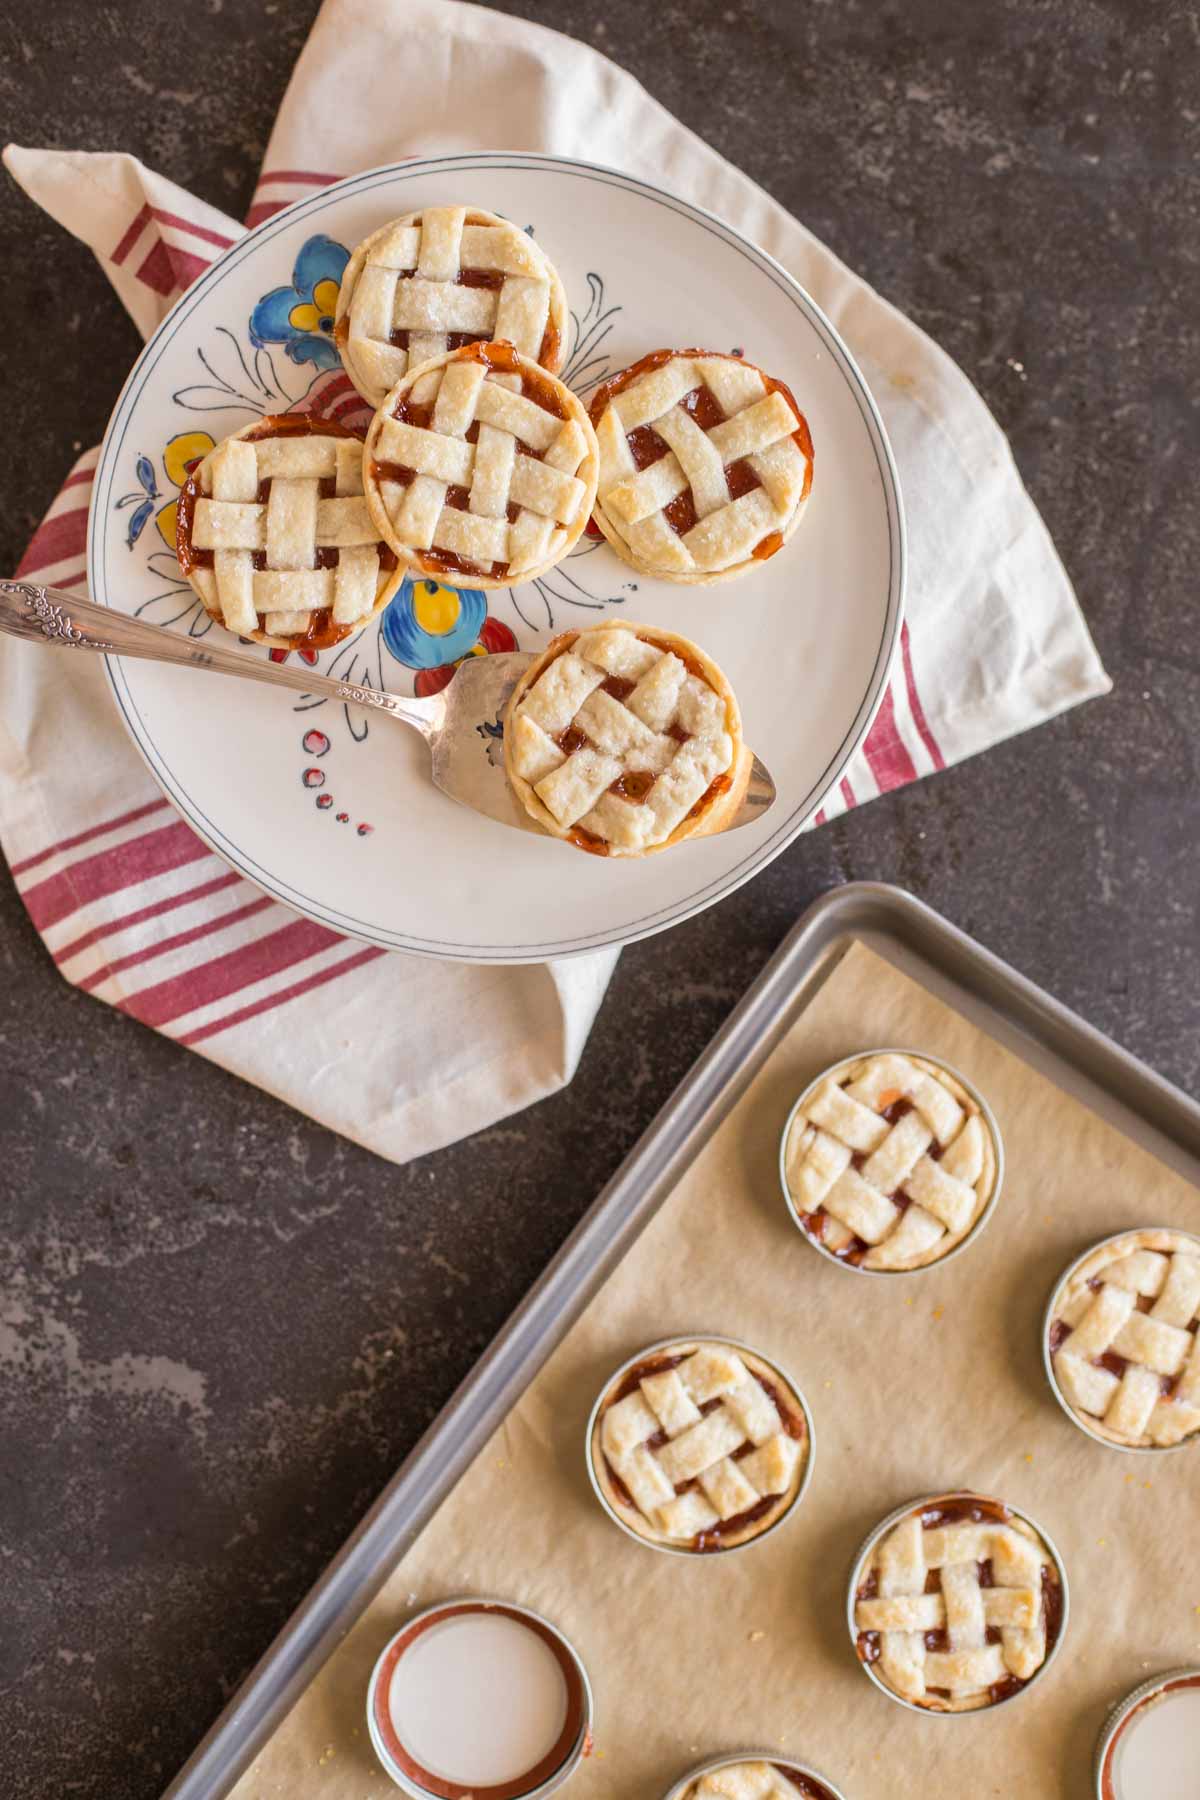
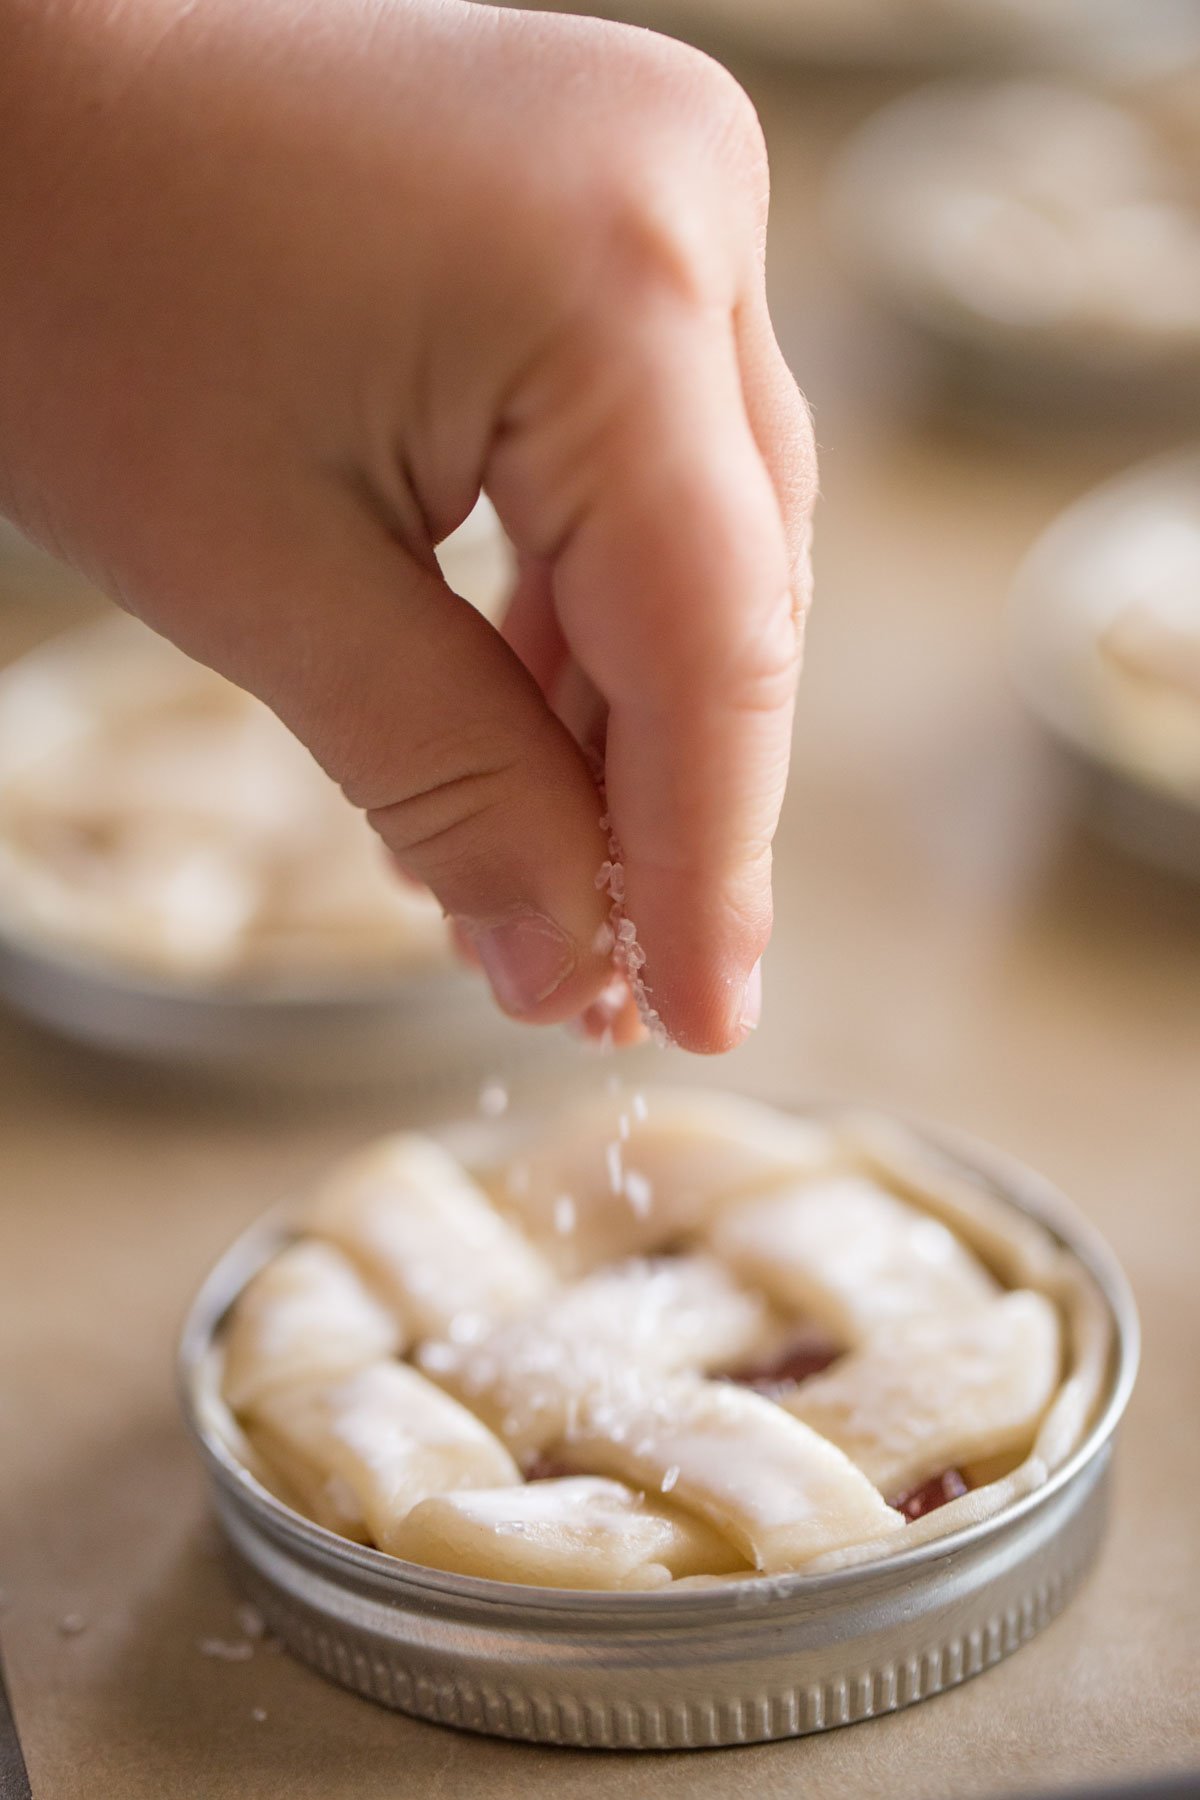
Brushing the top of the pies with heavy cream and sprinkling them with coarse sparkling sugar adds the most delicious crunch and sweetness. You can find it in a specialty baking store, Michaels, Hobby Lobby, or on Amazon.
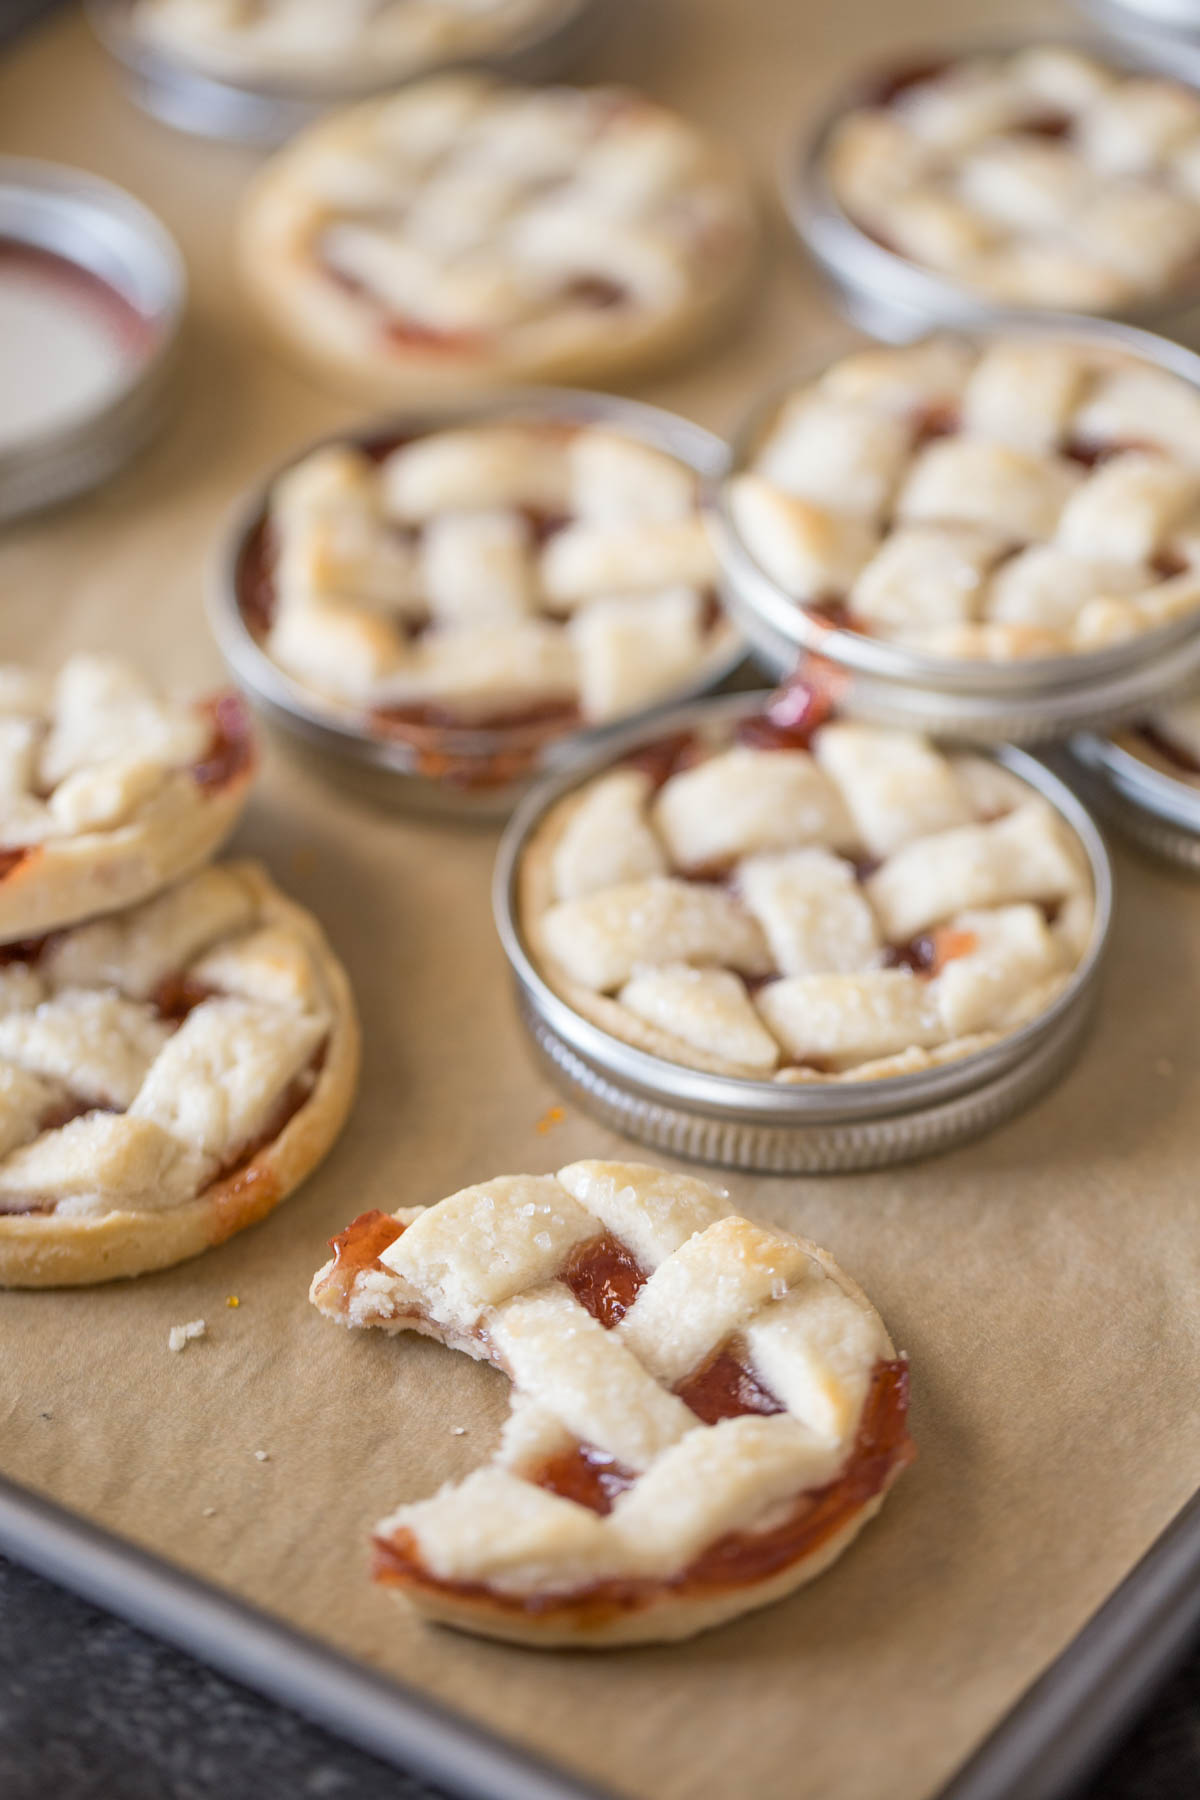
Bake them until they are just starting get golden brown around the edges. The filling will be bubbly and will thicken a bit.
Once they have baked and cooled in the lids for 5-10 minutes, you can just press the lid from the bottom to remove the pie.
What I Love About Mini Mason Jar Lid Strawberry Pies
- They are about 4 perfect bites. Perfectly portioned mini dessert!
- Kids can help! No perfection or super skills needed.
- They would make great gifts. You could leave them in the lid, and package them up in a little gift box with a bow.
Pie lovers, I’m looking at you. I think you’ll love these. Please let me know if you make them!
PrintMini Mason Jar Lid Strawberry Pies

Buttery, flaky pie crust with strawberry jam for filling baked inside a mason jar lid!
- Prep Time: 1 hour
- Cook Time: 15 mins
- Total Time: 1 hour 15 mins
- Yield: 18 mini pies 1x
- Category: Dessert
- Method: Bake
- Cuisine: American
Ingredients
For the Crust
- 1 cup (2 sticks) salted butter, cubed and chilled
- 1/4 cup granulated sugar
- 2 2/3 cup all purpose-flour
- 1/4 cup ice cold water
For Assembly
- 18 tablespoons (a little more than a cup) strawberry jam, jelly, or preserves
- 1 tablespoon heavy cream
- 1 tablespoon sparkling sugar
Instructions
For the Crust
- Place chilled, cubed butter, sugar, and flour in a food processor and pulse until you have coarse crumbs. Add water slowly as you process until a dough forms, add more or less water as needed. Pour the dough (may be a bit crumbly) onto a piece of plastic wrap, knead to bring together, and wrap into the shape of a disk. Chill for at least 2-3 hours.
- When you are ready to assemble and bake the pies, allow the dough to set out at room temperature for 15-20 minutes, and then roll it out on a well-floured surface. Check to see if the dough is sticking often, adding more flour as needed.
- Preheat oven to 400 degrees.
- Prepare a baking sheet with 9 mason jar lids laid out.
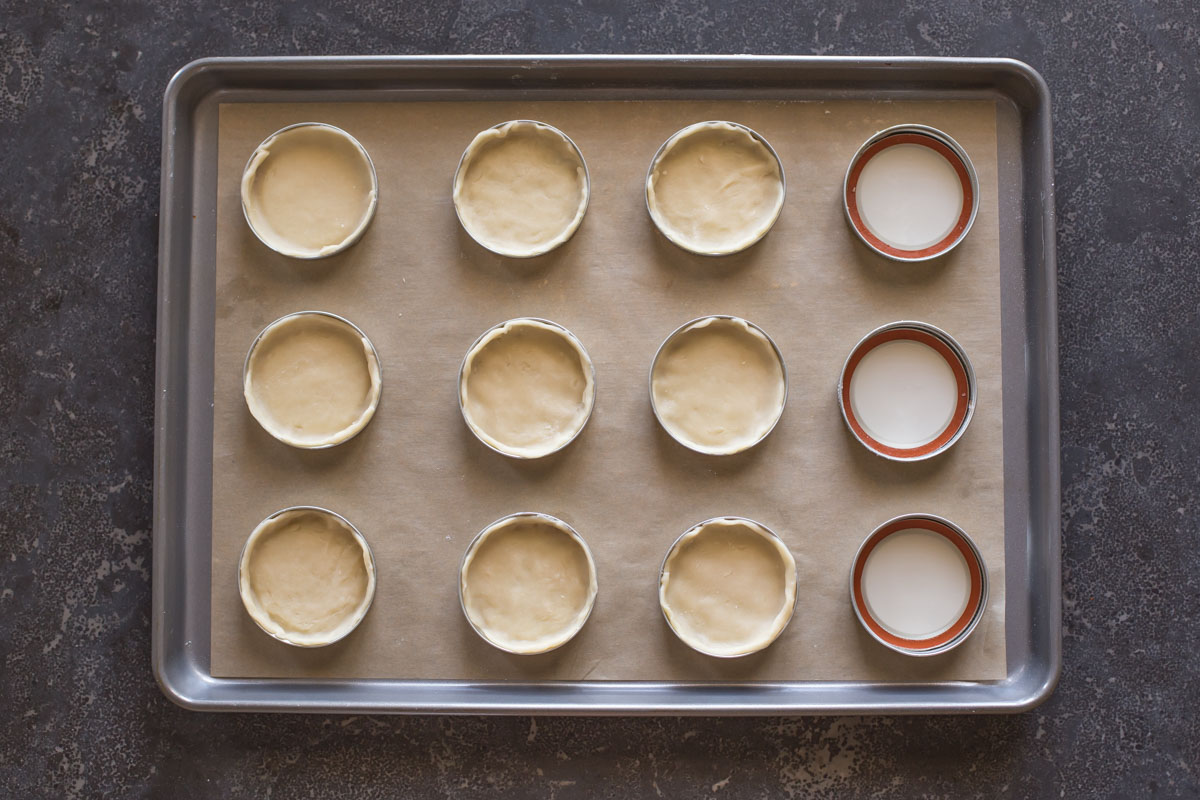
- Use another small mason jar ring (not the wide mouth size) to cut out 18 circles in the dough. Roll each circle out so it is slightly larger, and then place it in the jar lid, letting the dough come up the sides.
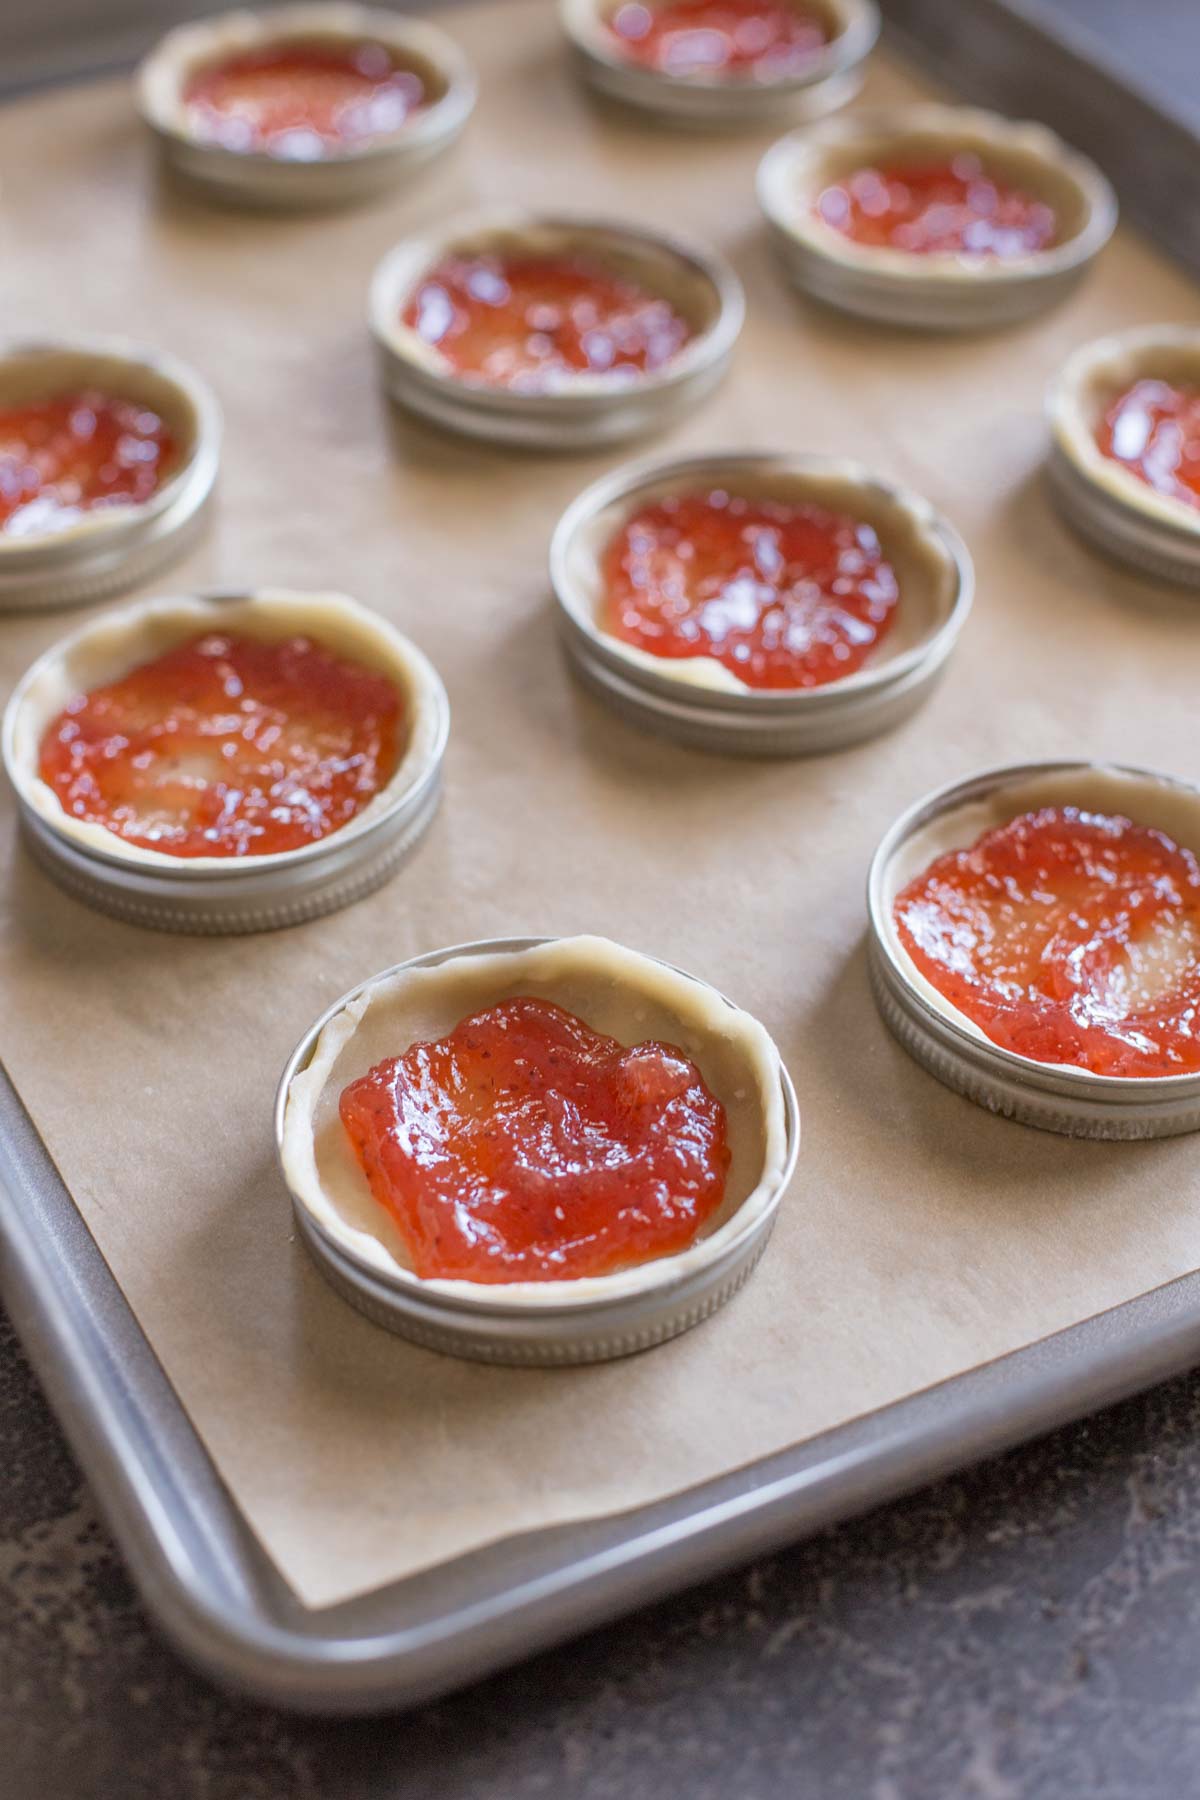
- Spoon about one tablespoon of strawberry jam into each pie.
- Gather and roll remaining dough into a rectangle, and cut out strips to weave the lattice top. Cut six 1/2 inch by 3 inch strips, weave them together, and then use a mason jar ring to cut the latticed dough into a circle. Use a metal spatula to transfer the circle onto the top of the pie. Repeat the process for each pie.
- When pies are assembled, brush each one with heavy cream and sprinkle sparkling sugar generously on top.
- Bake for 13-15 minutes, or until the top of the pies are just beginning to brown.
- Let the pies cool for 5-10 minutes in the ring, and then press from the bottom to remove the ring and lid.
Notes
This idea was inspired by my boys, and also from a post a while back from Created by Diane. Check it out for more ideas!
Nutrition
- Serving Size: 1 Mini Pie
- Calories: 229
- Sugar: 13g
- Sodium: 88mg
- Fat: 11g
- Saturated Fat: 6.7g
- Unsaturated Fat: 3.2g
- Trans Fat: 0.4g
- Carbohydrates: 31g
- Fiber: 0.7g
- Protein: 2.1g
- Cholesterol: 28mg


Adorable, just adorable. The pies AND that little hand with the sugar. Love it all! These would make wonderful gifts!
Thank you Chris!
I love this idea. When you just want a bite of something yummy to satisfy yourself. And I loved that someone remarked that they would make great gifts – I’m thinking Valentine’s is just around the corner. Maybe put a heart-shaped spin on these bad boys! Yeah! Such a great idea. Thank you for sharing.
Does the rubber band melt in the oven?
No, mine did not melt. But I think you could actually just set the rings on a baking sheet and make them without the actual lid if that was a concern.
That was my concern as well…thanks for posting
These pies are the cutest!!! They would be a fun dessert to make for 4th of July, making some with strawberry and some with blueberry jam. The step by step pictures show how easy they are to make, too!
Love that idea! Thanks Kristine!
Hi Julie, this idea is so wonderful and sounds like the perfect mini dish for a summer day! Thank you for the share, I cannot wait to make this with my wife! Thanks again!
Thanks Dan! Hope you guys have fun making them.
I think I’ll try this for our church bake sale!
Great idea!
Could I use pie filling?
Have you ever used a pre-made dough? I am lacking food processor!
Yes it should be just fine!
Could I use pie filling?
Sure thing!
Wait, so do you need an oven or not? Do you need to bake them?
Absolutely adorable and super easy to make. I cried when the last cookie was gone!! This recipe has become one of my all-time favorites.
Thank you for your kind words Frances. I’m so glad you enjoyed these!
Did you have to spray or grease the lids first ? Curious about dough sticking?
I am looking forward to make me these…however even though I make pies I have always been afraid to do a lattice top ! Also…can you mix the crust in a blender as opposed to a food processor as I only have a mini food processor ?
I absolutely loved this idea and planning to bake a batch of those for my birthday celebrtion! As I’m quite tight on time, I would like to know if it’s possible to make them ahead and freeze the pies? If so, how long will it take to bake them after the freezer? Thank you!
Yes I think you could freeze them. And I think they would thaw at room temp in the same time it takes to preheat your oven, so I’d keep the bake time the same. Hope you enjoy!!!
Oh, that’s perfect! Thank you so much!:)
Do you think these would freeze well?
Do these have to be stored in the refrigerator?
Thank you
So easy, hardest part was finding lids and top. Stores were out. Ball was sold and Covid hit. Stores can’t get orders filled. I ended up buying the jar. Tried them yesterday and they were great. I was concerned about the rubber and I turned it upside down with parchment paper on cookie sheet. Not one problem. Thank you. Making them for our Sr’s group at church. Perfect size.
Thank you Lynette, so glad they worked out for you!
I cannot wait to try these. It’s just me & my husband. I like cherry & he likes apple so I thought I could make a batch of cherry & a batch of apple then freeze them & pull them out as a treat once in awhile!My problem is that if they taste as good as they look-HHMMM they might not make it to the freezer!! Thanks for a fabulous recipe & idea!!
Can you just put the lids on parchment and not use the bottoms?
Did these stick inside of the lid at all? I really want to make them but am feeling so nervous about sticking!!
Sounds yummy. I want to make these to sell but how long will they keep unrefrigerated? If I use just jam, can they stay out longer?
Hello, this idea is beautiful, however I share Kathy’s concern about the contact of food at high temperatures with the rubber gasket, it absolutely must not be done because the chemicals used to make the rubber elastic can pass into the fats present in the dough and be harmful for health, Be very careful! eventually I suggest to insert an aluminum sheet to cover the cap to avoid food contact. I will definitely try this recipe it is simple and very useful for my family!
Hi Julie – I was inspired by your idea that these could be done outside. Made them while camping with my grandkids in a cast iron dutch oven over the fire. 8 coals below and 16 over is about 350 degrees. Cook time was a little longer than the oven and checked them often. Only adaption was that I used parchment to cover the bottom of the lid after reading about other people’s concern about the rubber gasket. To keep them above the bottom of the dutch oven I used 5 canning rings on the bottom of the dutch oven with a cake pan over them with the pies inside. Worked great and a BIG hit! Looking forward to experimenting with different coal temperatures to cut down the wait time.
We did these today as one of our many different Christmas cookies! They came out so cute and worth the time it took to make them. I missed the comments about the rubber gasket, but I saw some of ours not look right after- thankfully I no longer need the seals on those jars.
We tried doing it with caramel and it did NOT work 😅 stick with jam people! It made quite the mess to clean up and impossible to get out. Made a dark crunchy toffee around the edges and dried out the cookie.
Our jam ones we made with a pineapple cherry jam from our farmers market and they were super tasty. I didn’t have heavy whipping cream on hand, so I brushed them with whipped cream and coated the top with sugar in the raw. Big hit! Thanks for the idea!
Love this idea! I do have a few questions, do you spray the lid or do these not stick to the lid? Also how long can they be kept in the refrigerator? I want to do a bake sell and would like to know how long they can be kept out? Last question am I able to use a blender, I don’t have a food processor but it does have a pulse button!
I wonder if it would turn out well if instead of using jam, finely chopped pie filling (like apple) would work? Love the chunky apple bite in a regular sized pie, so was thinking of going a bit off script.
Really?? Getting the pies cooked over the toxic plastic the lids have inside and that is not meant to be heated?