
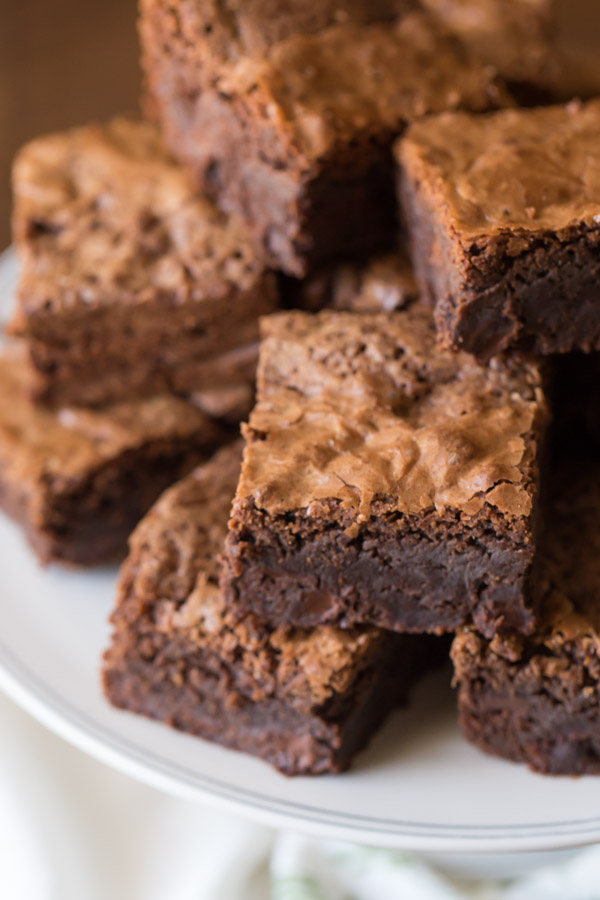
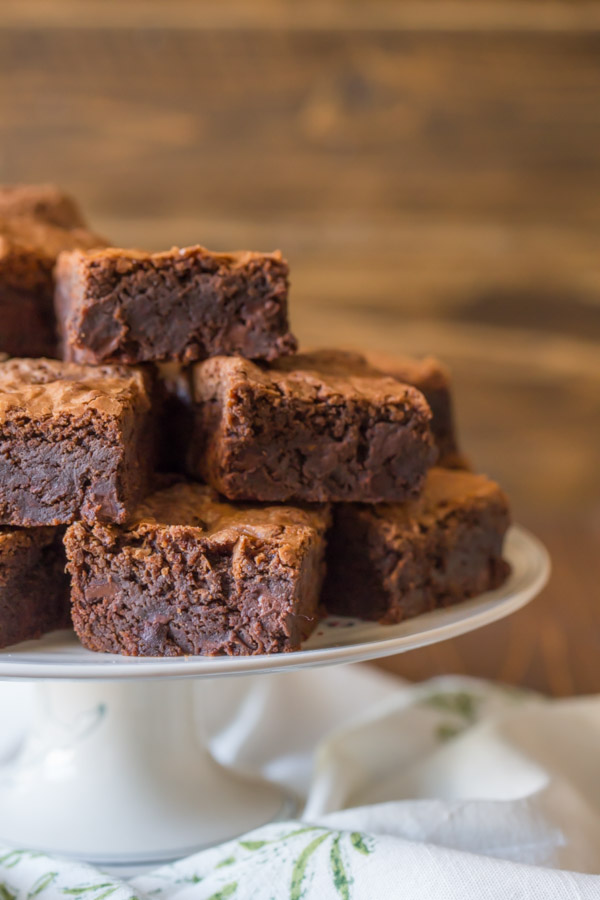
Are you a homemade brownie lover, do you have a loyalty to a particular boxed mix, or do you just buy whatever is on sale? No judgement here either way for sure, but every since I made these Extra Thick and Fudgy Homemade Brownies, I am a homemade brownie convert. Let me tell you why.
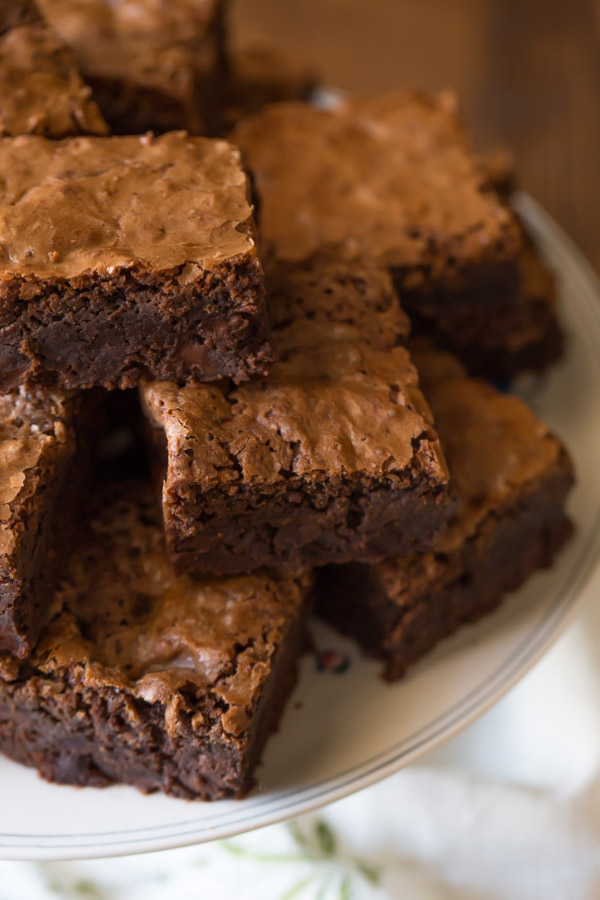
All along, I’ve been buying a boxed brownie mix at the grocery store thinking I was saving myself some time when really, homemade brownies are just as convenient. They are so easy! You don’t have to break out the mixer at all. Plus, you probably already have all of the ingredients in your pantry, so you can save yourself a trip to the store!
I like knowing all the ingredients that go into my baked goods rather than trying to read a label full of big words when I can. It makes me feel all warm and granola inside. You know that feeling?
The best way to make fudgy, moist homemade brownies is not over mixing the batter. It’s okay to leave a few little lumps of the dry ingredients in the batter for the sake of not over mixing. I promise, its okay!
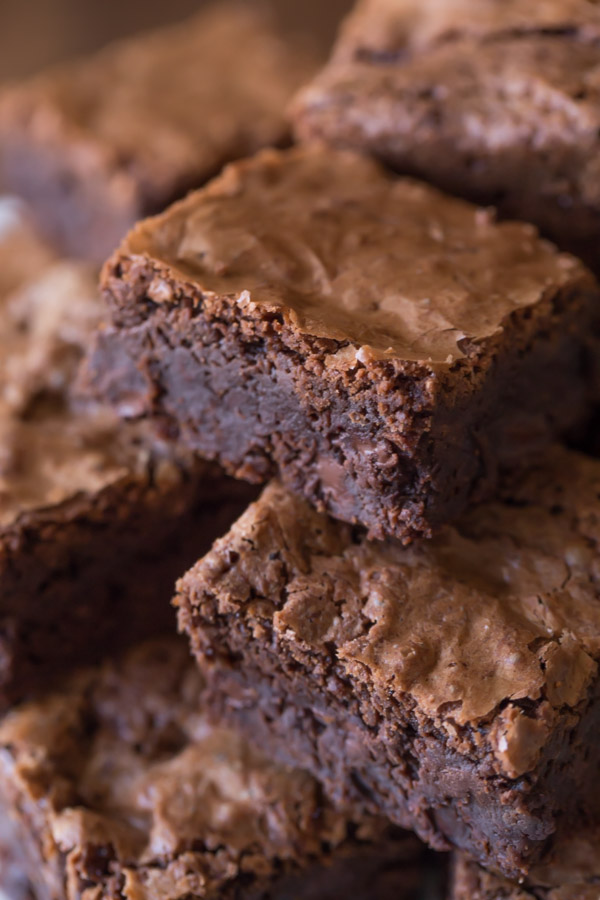
And another trick is to add a little coffee extract. The brownies don’t taste like coffee, but it really helps enhance the chocolate flavor. I like using a combination of unsweetened cocoa powder and semi sweet chocolate chips.
So have I convinced you yet? If you give them a try let me know!
PrintExtra Thick and Fudgy Homemade Brownies
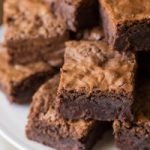
Let me convince you that homemade brownies are better than boxed!
- Prep Time: 15 minutes
- Cook Time: 35 minutes
- Total Time: 50 minutes
- Yield: 9 large brownies 1x
- Category: Dessert
- Method: Bake
- Cuisine: American
Ingredients
- 1 cup butter (2 sticks)
- 2 cups granulated sugar
- 4 eggs
- 2 teaspoons vanilla extract
- 1/4 teaspoon coffee flavored extract (optional)
- 2/3 cup unsweetened natural cocoa powder
- 1 cup all purpose flour
- 1/2 teaspoon salt
- 1/2 teaspoon baking powder
- 1/2 cup semisweet chocolate chips
Instructions
- Preheat the oven to 350 degrees. Prepare a 9 by 9 inch baking pan by spraying with nonstick spray, and then lining with parchment paper leaving excess hanging over two sides of the pan.
- Melt butter in a medium saucepan over medium low heat. Remove from the heat. Stir in sugar and chocolate chips. Stir until the mixture is smooth.
- Add eggs one at a time, mixing between additions. Then add vanilla extract, and coffee extract (optional).
- In a separate bowl, mix cocoa powder, flour, salt, and baking powder. Add the dry ingredients to the saucepan, and mix together. Do not over mix. When there are still a few small lumps of unmixed flour and cocoa powder visible, stop mixing.
- Pour the batter into the prepared baking pan and bake for 32-38 minutes. The top should look shiny and a little bit crackled.
- Allow the brownies to cool completely (this will take several hours), and then lift them out of the pan using the parchment paper. Cut into bars. A plastic knife if the best tool for cutting brownies!
Nutrition
- Serving Size: 1 Brownie
- Calories: 509
- Sugar: 50g
- Sodium: 340mg
- Fat: 26g
- Saturated Fat: 15g
- Unsaturated Fat: 8.4g
- Trans Fat: 0.8g
- Carbohydrates: 65g
- Fiber: 2.1g
- Protein: 6g
- Cholesterol: 137mg

Hi! love the recipe. Just a query should i use granulated sugar or castor sugar? also can i use semi sweet chocolate bar instead of choco chips? 🙂
Yes, you can use a chopped bar of chocolate and I used granulated sugar. Thank you for your questions.
These were great! I even reduced the butter by half and they were still fudge and delicious!
Wow Kim, good to know! Glad you liked them.
Hi, I want to try making these brownies today, but I don’t have coffee extract, just pure vanilla extract. Can I use that instead, or does it have to be coffee extract? Please let me know. Thank you
That’s fine Judy. The coffee extract just brings out the chocolate flavor even more.
I have used this recipe a dozen times since this past winter. Usually they turn out heavenly. My problem is sometimes they start to burn on the outside before they cook on the inside. I just can’t figure out where my inconsistency is. I always bake in the same 9×9 stone ware dish at 350°. Any idea why this is happening?
I’m not sure why that would be Amy, but maybe if you just cover the edges with pieces of foil, it’ll give the inside more time to bake. Wish I could help you know why though!
Perfection! Just like a bakery! Made in a 11 x 7 pan because I didn’t have 9 x 9. Thank you for the recipe!
So glad to hear that Jennifer!
I found this to be too much batter for a 9 by 9 pan… the outside over cooked while the middle is still too gooey… if I use this recipe again I would put it in a 9 by 13…
I am obsessed with brownies and I’ve been looking for the perfect recipe…I am happy to say my search is over! These were the most amazing brownies and they were so easy to make! I did have to bake them longer than the recipe said but they were well worth the wait! Thank you so much for this recipe!
Awesome!
This may be a silly question, but do I mix the eggs, vanilla extract, coffee after adding them to the butter/sugar mixture or AFTER adding the mixed dry ingredients? I mixed the egg/coffee/vanilla mixture then I mixed everything again, once I added the mixed dry ingredients. I hope this makes sense. They turned out great, but there was a bit of egg remaining once we ate them. I don’t know if that had anything to do with it, or perhaps, I didn’t allow the butter/sugar mixture to cool enough before adding the eggs, etc. Either way, they tasted great. I just want to clarify for the next time.
Amber, that’s a really good question! I have had the same thing happen. I think you are right – if the butter/sugar mixture is too hot the egg will “scramble” and you’ll have little bits of chewy egg you can taste in some of the brownies. So I think the order is fine, just make sure the butter mixture is cooled. So glad you liked them!
I am in the process of making this now, but I was wondering somewhat the same thing. Am I supposed to add the eggs while the mixture is still warm and on the eye? Or am I supposed to remove the mixture from the eye, allow it to cool, and then add the eggs?
Well, I’m up to 50 minutes baking and still going. Toothpick is still a bit gooey.
Toothpick came out nearly clean at 52/53 minutes
Hi Ben – You are not the only one who has noted that these take longer than expected to bake. I’m not sure why some people say they turned out great as written and other’s say they need more time. Planning to make these again and adjust baking time as needed. Thank you for your feedback. Hope you enjoy!
Hi Julie
I am a bit perplexed as to how these can bake in about 30 min.
Best results (for me) was about 53 min. baking time at 350F.
Anyway, they turned out great and everyone liked them, even my wife who is very picky. She wanted frosting I said no. Ha ha
I did make a few small changes.
I did add 1 cup of walnuts, eliminated the chocolate chips and the coffee, but added 1 tsp of espresso powder.
I also didn’t use parchment paper (didn’t have any on hand).
I used foil instead. Worked fine.
I absolutely will make these again. Very tasty.
Thanks for sharing the recipe.
Ben
Hey.. I had no idea that a recipe THIS easy could be THIS good.. Wow! Loved it.. although I didn’t have a 9×9 pan…I had an 8 x13.. but they are just perfect.. didn’t have any coffee extract so added 1/4 cup of strongly brewed coffee and I’m sure we’ll be making these over and over again! Love from Pakistan! Thank you!
So happy to hear that Marissa, thanks so much for saying hello!
I cant have dairy and was wondering what I could sub the butter for… would olive oil work?
Thanks for the recipe, it was delicious!
For all those who cant have dairy:
Forget using hydrogenated oil or whatever it is, because its bad for you.
Use 3/4 cups olive oil in place of the 1 cup butter. I still heated the oil until it was before bubbling and it tastes great!
Also it took close to 40min to bake using a 9×9 pan, but it was a thick ceramic one so i suggest baking for 30min and then adding 5min untill its ready.
Thanks so much for posting those substitutions Scarlett. So glad it worked out for you!
try coconut oil
I made these briwnies for w family function. Everyone loved them. So now this is the only brownie recipe i use. Im making some tomorrow for my son’s birthday party. Thanks for this recipe.
LOVE this recipe!! Thanks so much for sharing. I used a 7×11 pan and baked for an hour…perfection. My hubby thought they were amazing. I cut the brownies into smaller portions, and I am freezing half of the brownies for another day 😀
Thanks again!
You are so welcome Gina!
Hi im willing to do the recepie today but i just want to know on wich rack i have to put the pan!!!! Usualy that makes me confused while baking sweet 😊
Hi Carla, generally I would say place the oven rack in the center position unless otherwise noted. Hope you enjoy!
I baked these brownies and they turned out so good and fudgy. They are exactly the kind of brownies I had been looking for. However in my oven they took almost an hour to bake on 350 degrees. Maybe that’s because I increased the amount of chocolate chips.
Thank you!
Hi there! I’ve loved my great-grandmother’s brownie recipe all my life, but your recipe is actually better. The flavor and texture are perfect, the only thing is, these take much longer to bake than the 28-33 minutes stated. Both times I’ve made these, I have had to bake them for between 50 and 60 minutes to get the toothpick to come out clean an inch from the center.
Thanks for that feedback Jen. Glad you liked them!
These truly are the BEST BROWNIES!!! I am usually not a huge brownie lover, but these are so yummy!
Thanks so much!
Do you think these would work well for little brownie bites?
I think you could definitely make as directed and then cut them into little cubes. Plastic knives cut brownies very cleanly!
My hubby wanted brownies and we didn’t have any mix so I went searching for an easy recipe found this one it was very easy to make my son helped me and they were very good will be making again
Awesome Mandi! Love when that brownie craving it brought to justice!
It is my first brownie and i just loved it.
Happy to hear that Elora!
i am 13 years old and have tried and tested many brownie batters that was just to cakey and didn’t have a crinkly top until i stumbled over this recipe. Mine’s are in the oven right now but based on how the batter taste these brownies may be a winner. I can’t wait to try them!
Hi! It’s all about that elusive crinkly top, right?!? I hope you love these as much as we do. Thanks for saying hi!
I made these last night for our picnic today. Whipped up a small batch of chocolate frosting for them. They are decadent, fudgy, thick and delicious!! Great job Julie!
Thank you Julie!
These are by far the BEST BROWNIES that I have ever made!!
Thank you Susan!
Hi 👋🏻 since I’m using baking cocoa, do I still need to add the baking powder?
Thx
My son say they are simple delicious, thank you for the recipe.
I’m so glad he likes them, you are very welcome!
This is my favorite brownie recipe! I’ve deleted all others, this one is perfect. Thanks!
Thank you Heather, so glad you liked them!
I made these brownies for my husband and WE (my husband, 11 year old son and i) all loved them. I think i ate most of them and that was yesterday!! I did use a 8×8 pan so the sides baked a little thicker than the middle but it still came out great. Next time I’ll have to pay more attention. Just glad it didn’t overflow onto the oven. Lol! Thanks for a great recipe!!
You are so welcome. I’m glad they worked out for you, Devina! Thanks for leaving me a note!
Delicious and fudgy!
I went to make these and realized I didn’t have any regular cocoa on hand. So I made these with special dark cocoa and an extra tablespoon of sugar.
I used a rectangular 2.2 quart glass baking dish instead of a 9 x 9 pan and did have to cook it a little longer for it to bake in the middle.
Thanks Elyse, glad to know the dark cocoa worked well too!
Hi Julie, how many grams of butter do you think it’s equal to the 1 Cup your recipe calls for?
Thanks for your question Erica. Here’s a link to a helpful equivalent chart I like to use. https://www.kingarthurflour.com/learn/ingredient-weight-chart.html
I’m excited to try these, thick brownies is what dad wants for Fathers day, and this is my first made from scratch brownies… but question, I’m needing to feed quite a few, if I were wanting to cook them and put them in the 13×9 pan, I’m thinking of just doubling the recipe, but would I need to alter the bake time?
I think this recipe would be difficult to bake in a 13 by 9 if doubled. I would recommend just doing two separate batches in 9 by 9 pans. Hope you enjoy!