My family calls these “Julie Rolls”. In the summer of 1995, I found the recipe in a Taste of Home magazine that my mom subscribed to. Since making them for the first time when I was 15 years old, I would estimate I’ve made them at least fifty times. My extended family gathers together for big dinners quite a bit, and when I bring these rolls, they make me feel like I’m their hero. They make quite a fuss over them, and if I’m being honest, I never get tired of the compliments!
They are not hard to make, in fact, you probably have all the ingredients on hand, and the only tools you need are a big bowl, wooden spoon, rolling pin and pizza cutter. I’ve never used an electric mixer, and I think this is why they are so incredibly tender. The secret to making these rolls turn out just right are to have your ingredients at the right temperature, and to get to know what the dough should feel like when it’s right.
I don’t usually try to capture each step involved in my recipes, but this time I was careful to show you more of the process. I really want you to make these rolls, fall in love with them, and be a hero to whomever you share them with!
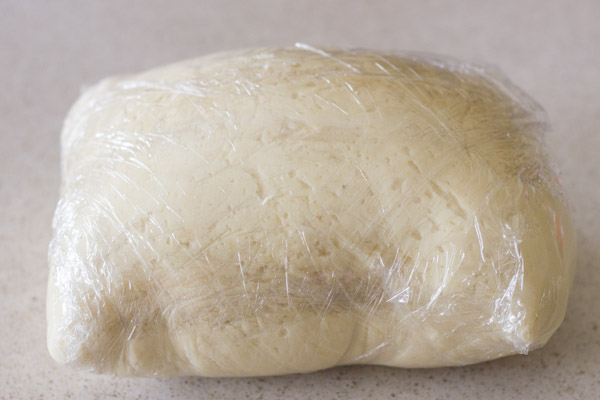
This recipe requires that the dough be refrigerated for at least 6 hours before you roll it out. This is what it will look like all puffed up when you take it out of the fridge.
Then you punch it down and divide it into two equal parts.
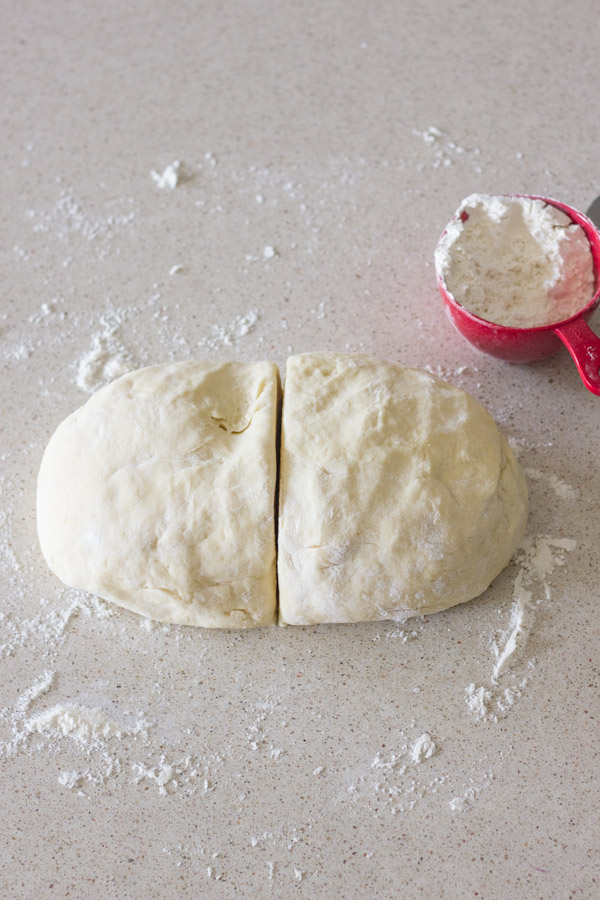
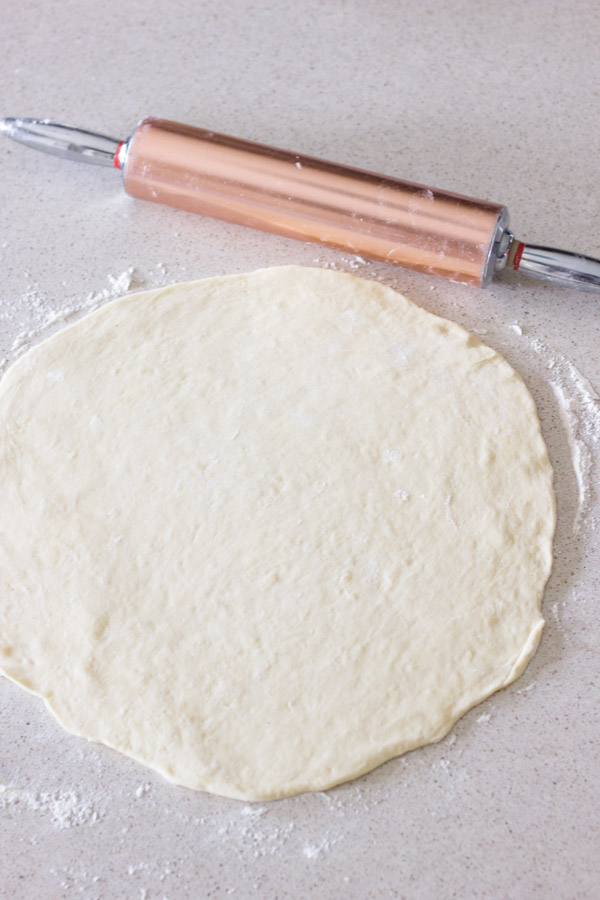
Dust your work surface and the top of the dough with a good bit of flour. So frustrating when your dough sticks! Take one half of your dough, shape it into a round disk, and then roll it out into a 12 inch circle.
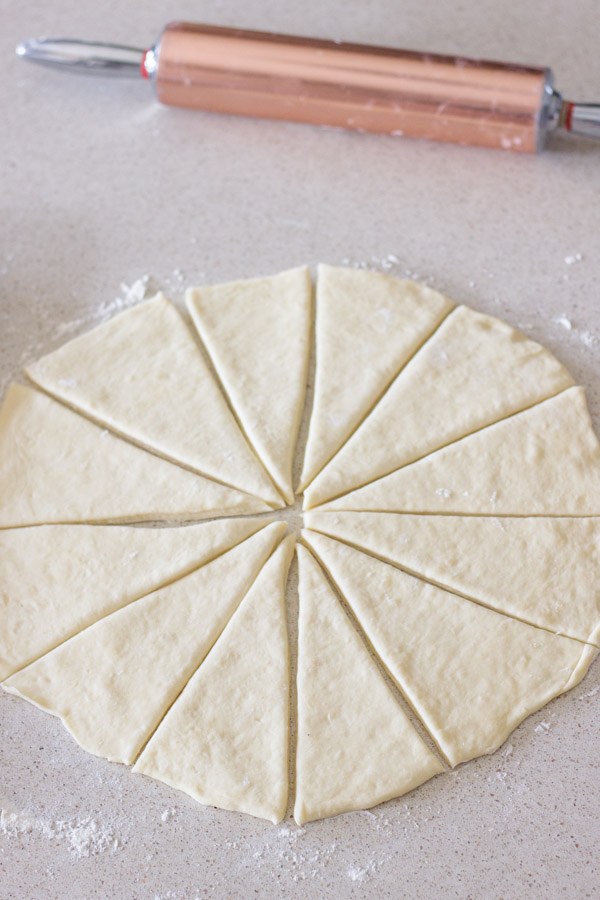
Cut the circle into four quarters, and then each quarter into three wedges. A pizza cutter is perfect for this.
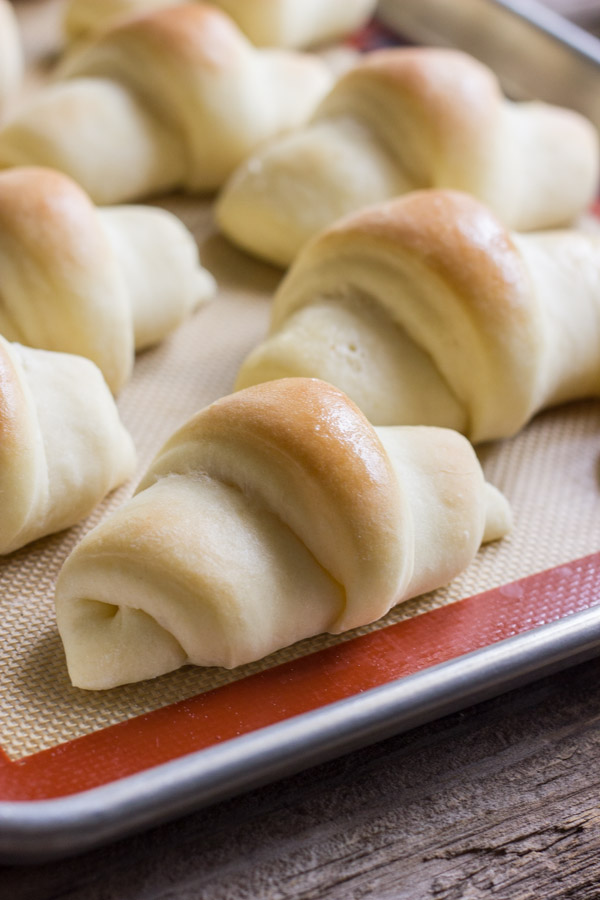
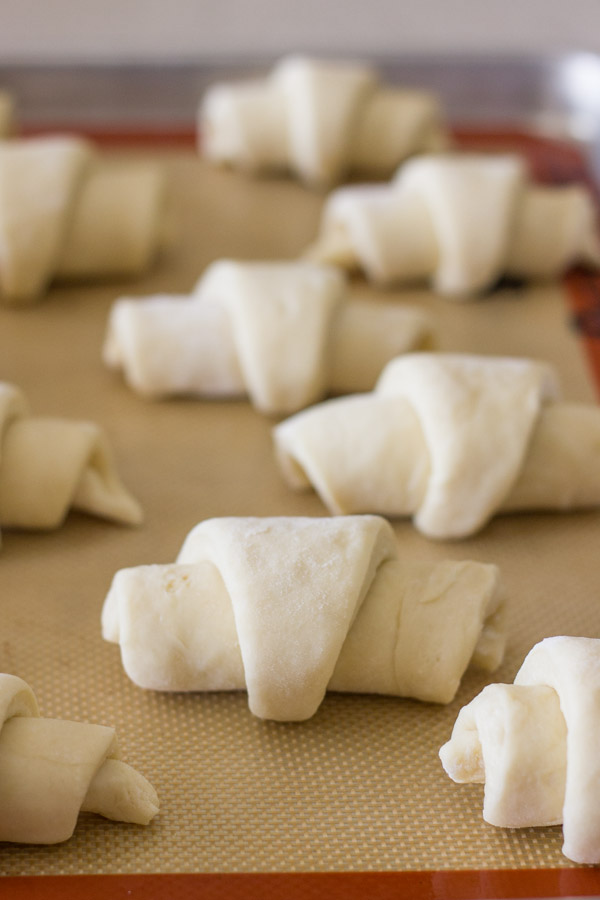
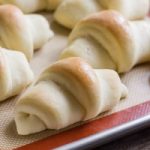
Starting with the wide end of the wedge, roll it up toward the point.

Place them on a baking sheet with the point tucked underneath. Repeat this process with the other half of the dough, and then cover both baking sheets with a clean dish towel, and let the dough rise for one hour.
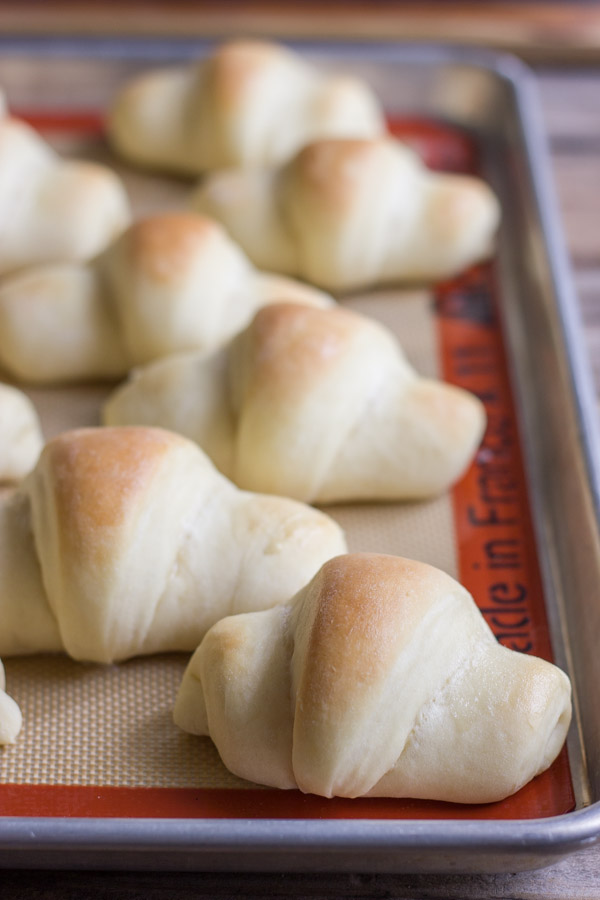
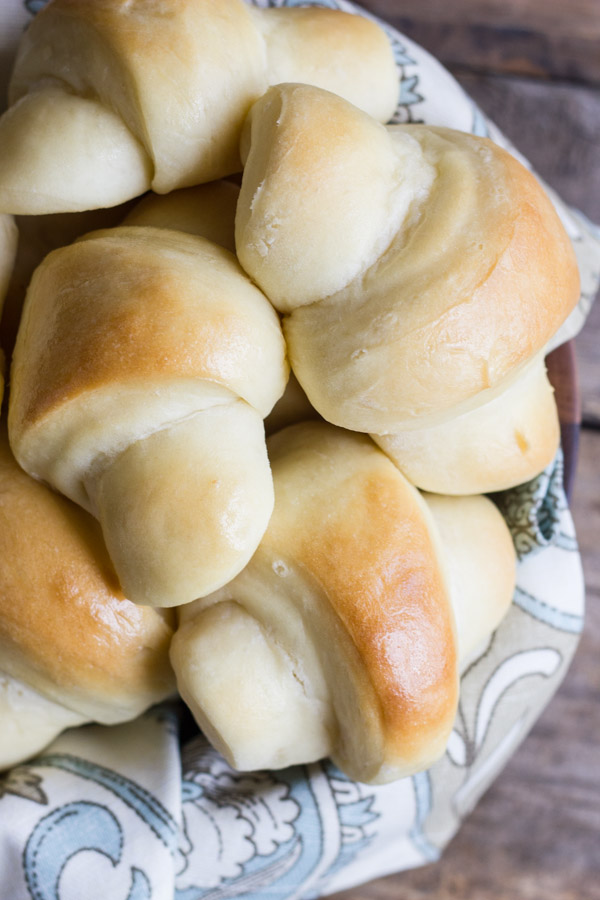
Preheat your oven to 350 degrees, and bake them for 12-15 minutes. The tops will be golden brown.
So they will live up to their name, brush each roll with melted butter. True confession: Sometimes I do two coats.
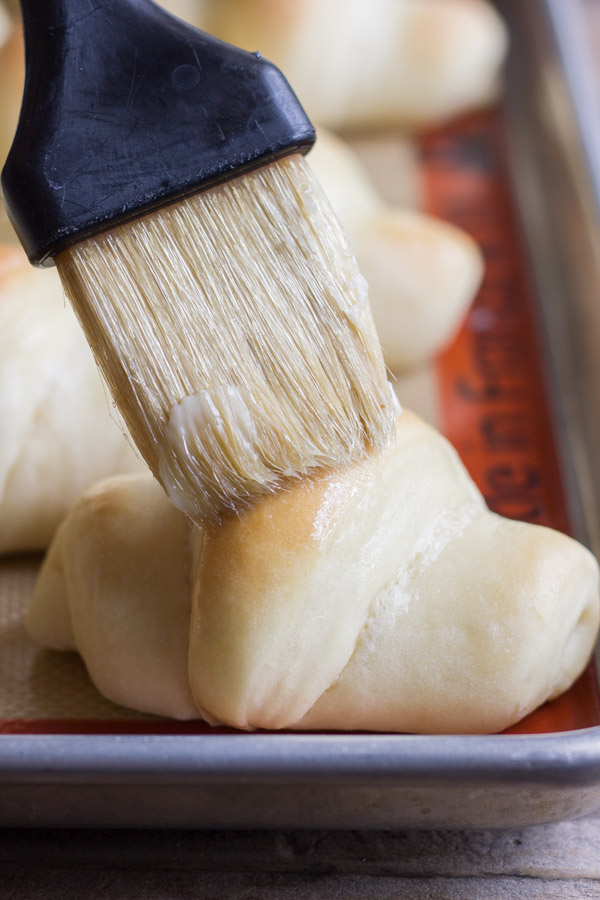
Do sneak and eat one while it’s still warm. They absolutely melt in your mouth.
You will adore these rolls, and your friends and family will beg you to make them again, and again. And you won’t mind at all.

You’ll get so good at making them that you don’t even need to look at the recipe. And everyone will start calling these “Lisa Rolls” or “Betty Rolls” or “Susie Rolls” or whatever your sweet little name is. And you will be a hero!
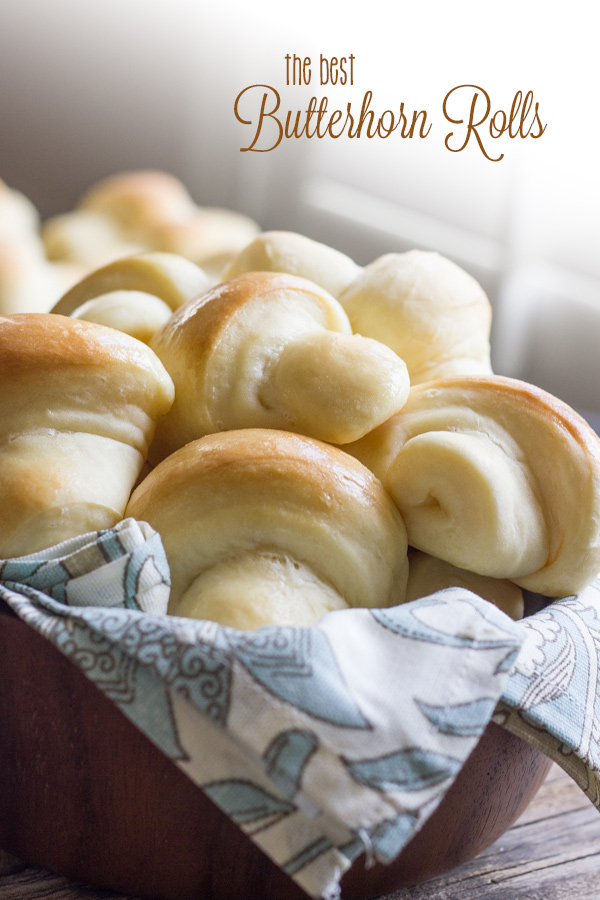
The Best Butterhorn Rolls
These Butterhorn Rolls will absolutely melt in your mouth!
- Prep Time: 20 minutes
- Cook Time: 24 minutes
- Total Time: 44 minutes
- Yield: 2 dozen 1x
- Category: Bread
- Method: Bake
- Cuisine: American
Ingredients
- 1/4 ounce packet (2 1/4 teaspoons) active dry yeast
- 2 tablespoons warm water
- 2 cups warm milk (I use whole)
- 1/2 cup sugar
- 1 egg beaten
- 1 teaspoon salt
- 6 cups flour, divided
- 3/4 cup plus 2 tablespoons butter, melted (will be used separately)
Instructions
- In a large bowl, dissolve the yeast into the warm water. Let the yeast sit and proof for about 3 minutes. Then pour in the milk and stir.
- Add the sugar and egg and mix.
- Add 3 cups of flour and salt, and mix.
- Add 3/4 cup melted (should be warm, not hot) butter and mix, then add 3 more cups of flour mixing well between each one. Sometimes it works best to use clean hands for the final mixing. The dough should still be a bit sticky, but pulling away from the side of the bowl. If you need to add an additional 1/4 or 1/2 cup of flour, that is okay.
- Pour the dough out onto a large piece of plastic wrap.* Wrap well and then place into a gallon size Zip-loc bag (do not remove all the air) and refrigerate for at least 5 hours or overnight.
- Remove dough from plastic wrap and punch it down.
- Divide the dough into two equal parts.
- Roll each part out one at a time into a 12 inch circle on a well floured surface. Sprinkle additional flour over the top of the dough.
- Using a pizza slicer, cut the dough into four quarters, and then each quarter into three wedges**
- Starting at the wide end, roll them up. Place the rolls on a greased or Silpat lined baking sheet. I usually do two baking sheets with 12 rolls each.
- Cover the rolls with a clean dishcloth and let them rise for one hour.
- Preheat oven to 350 degrees.
- Bake for 12-15 minutes, or until the tops are golden brown.
- Remove to a cooling rack and brush with remaining 2 tablespoons of melted butter.
Notes
Slightly adapted from Taste of Home. *You may find it easier to just put the dough in a large, greased bowl covered with plastic wrap when refrigerating. If it rises enough, it can burst through the plastic wrap. ** If you would like to make 32 smaller rolls instead of 24 larger, cut each circle of dough into 16 triangles, and watch the rolls closely in the oven. They may need 1-2 less minutes to bake.
Nutrition
- Serving Size: 1 Roll
- Calories: 204
- Sugar: 4.3g
- Sodium: 156mg
- Fat: 7.6g
- Saturated Fat: 4.6g
- Unsaturated Fat: 2.4g
- Trans Fat: 0.3g
- Carbohydrates: 29g
- Fiber: 0.9g
- Protein: 4.4g
- Cholesterol: 27mg

These are my favorite!!
A couple of times I have spooned some spinach artichoke dip onto the larger end of the triangle before rolling up. Makes a delicious appetizer!!
Thank you soooo much for sharing this recipe! I have been using it for years now! Never disappoints.
Wow, so delicious and the dough was so easy to work with! Just like you said… wherever I go, they’ll be called Gina‘s Rolls🤷🏼♀️
These are amazing! I made mine in my kitchenaid, wrapped and put in a bowl covered, in fridge overnight. I made 32, can’t imagine how big they would be at 24! My new favorite, big family hit!
Hi, question- unsalted butter or regular? Thank you!
Delicious!!! Thank you for sharing this recipe. Sometimes yeast intimidates me but this was a very easy recipe to follow. I will definitely make these again.
Delicious! Perfect texture and balance of sweetness…And love that there is no kneading involved.