
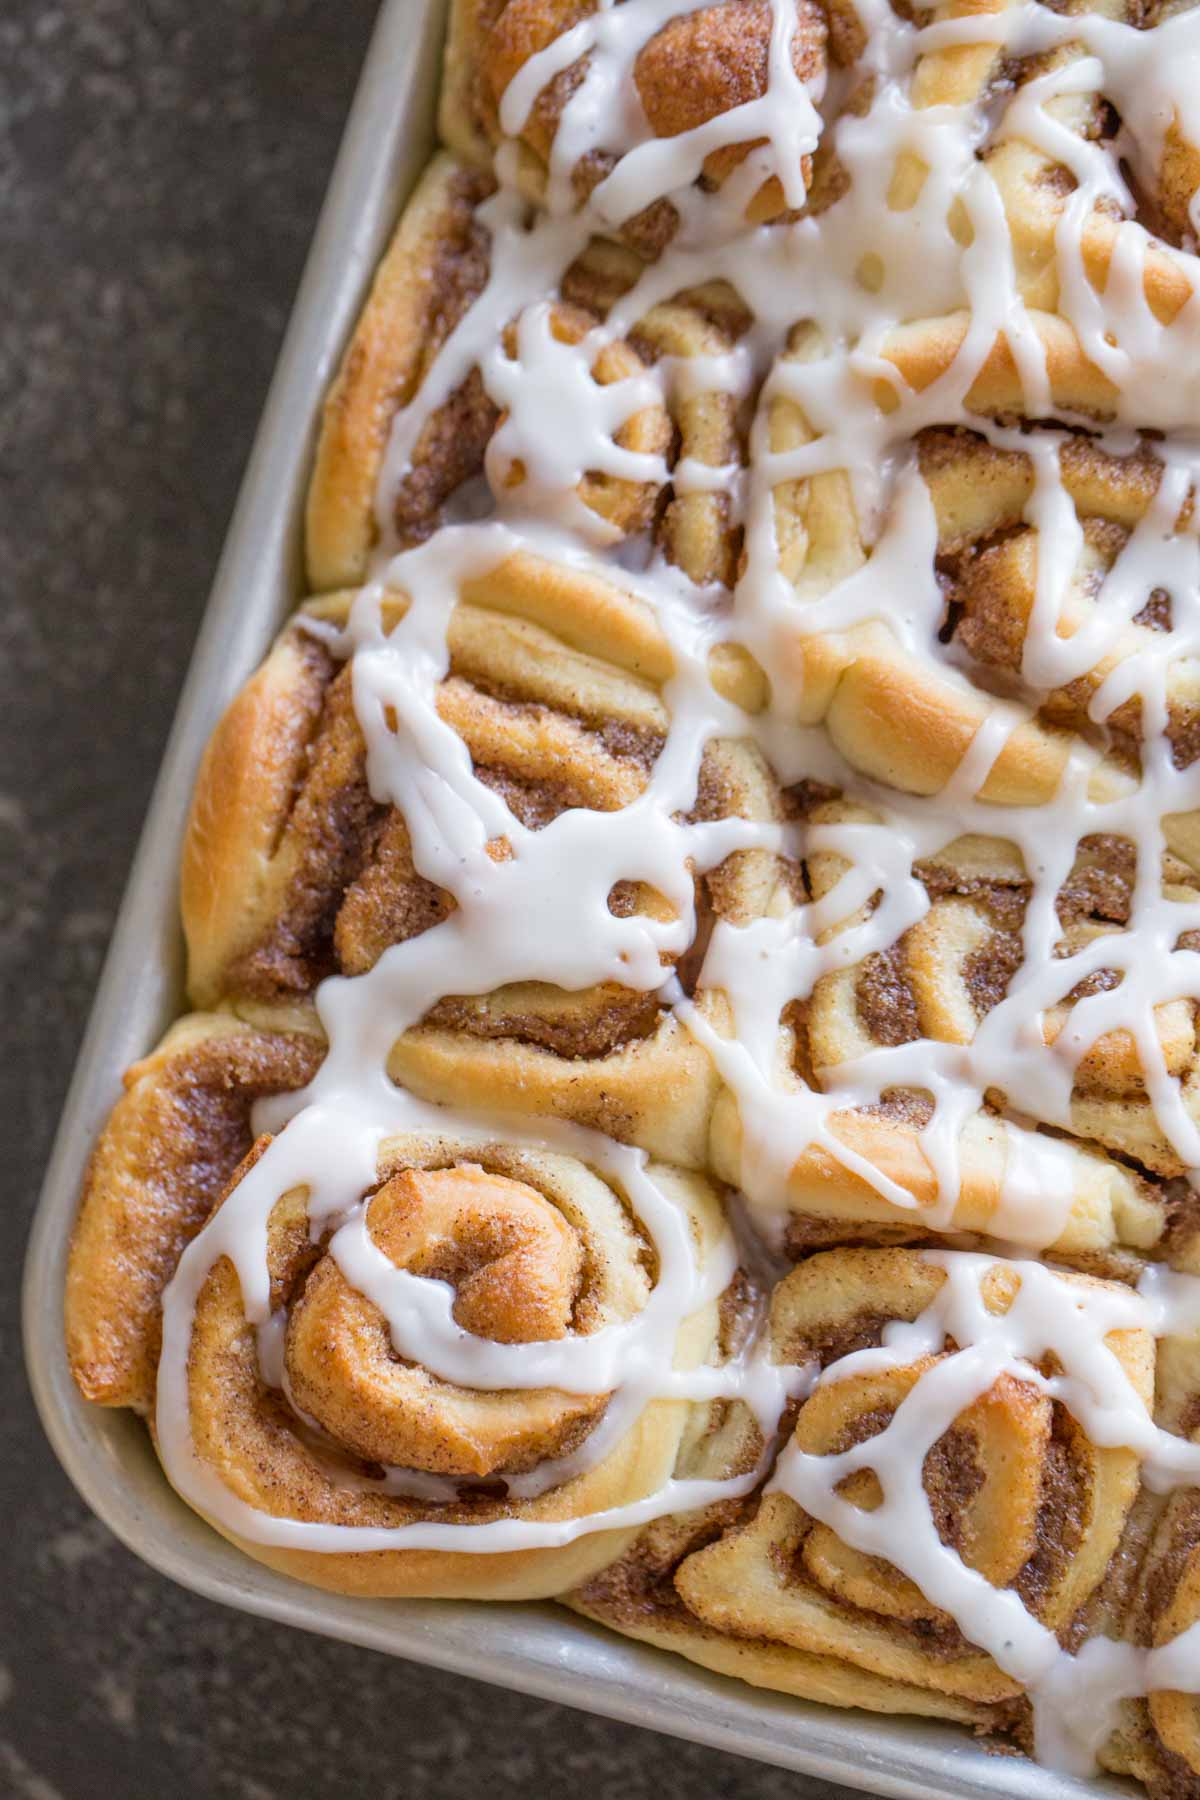
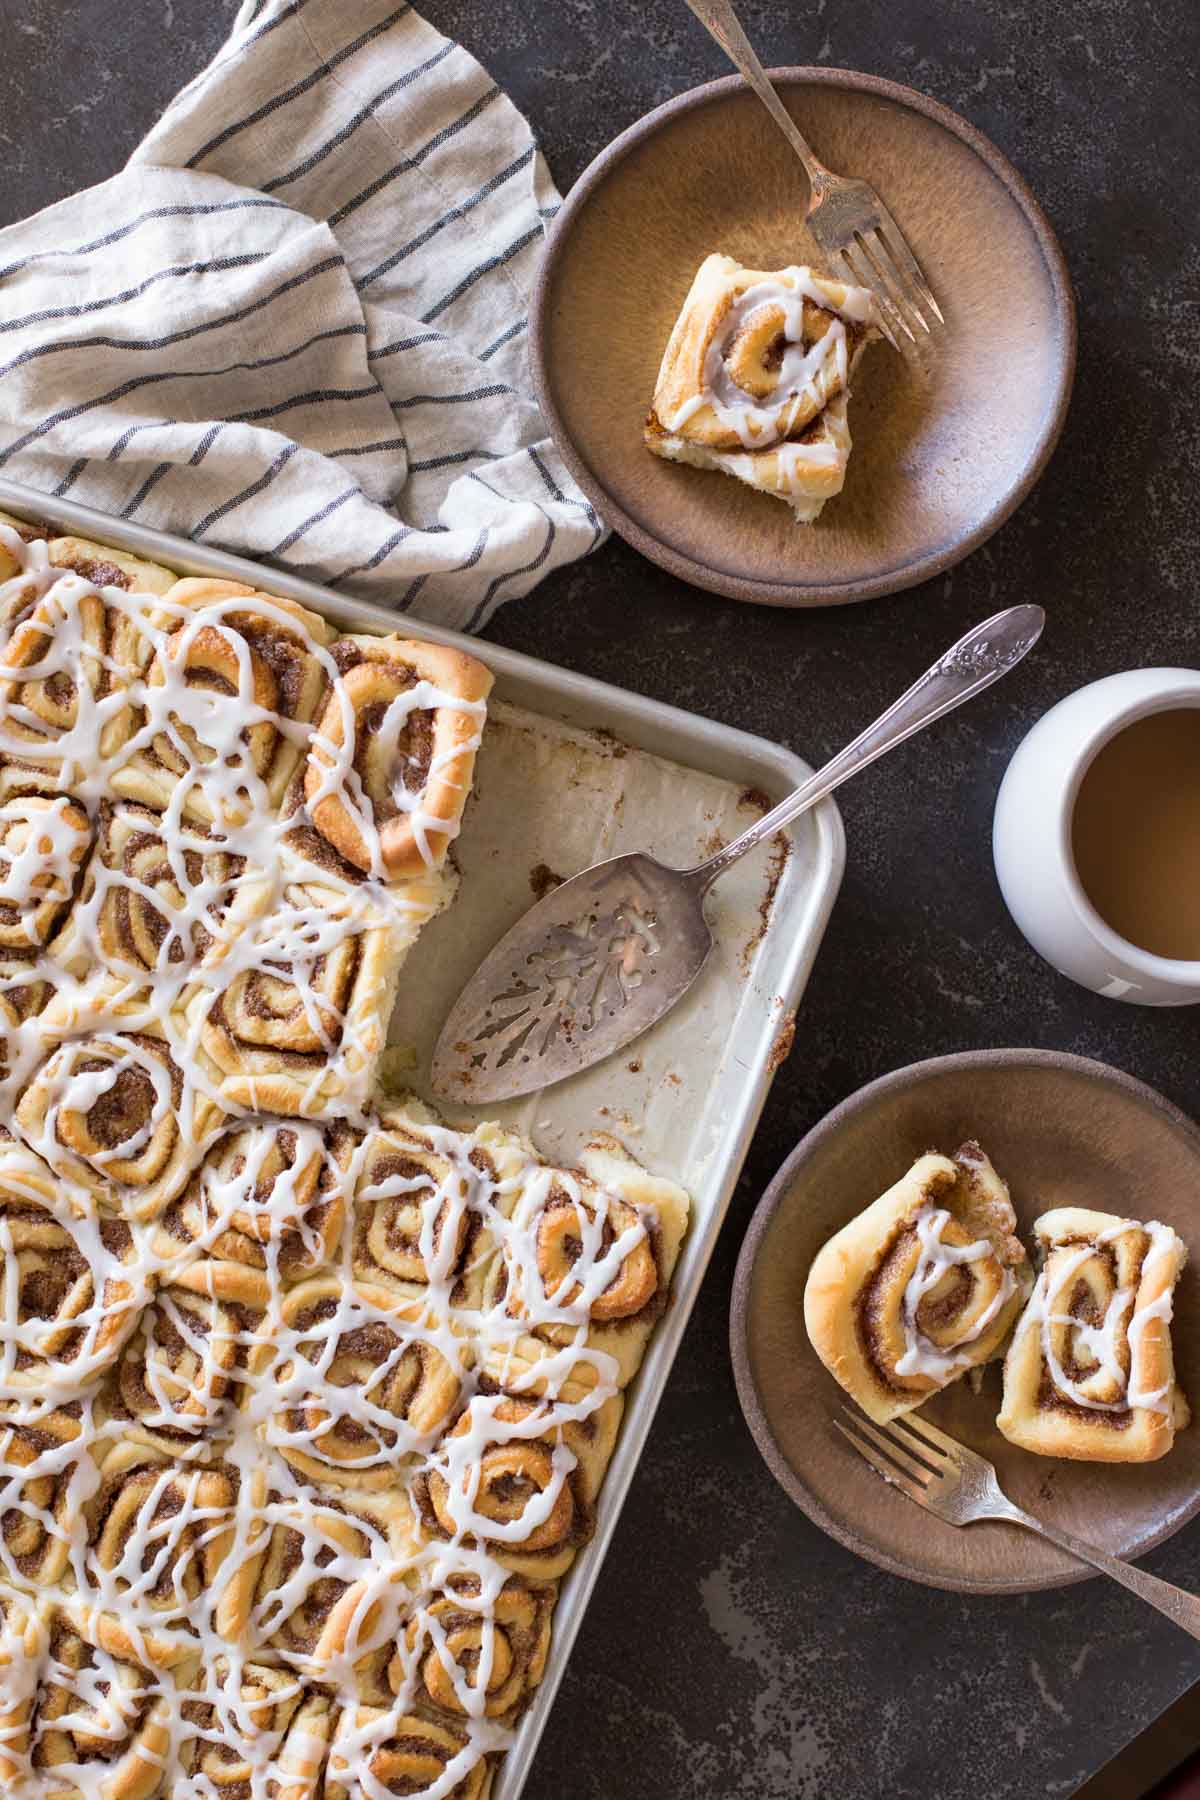
I adore making these Sheet Pan Cinnamon Rolls. There’s something about working the dough, rolling it up, and seeing those spirals line up like chubby little soldiers in the pan that is very therapeutic for me. It’s hard to feel down when you have a pan of freshly baked cinnamon rolls cooling on your kitchen countertop, right?
This recipe is similar to my Overnight Cinnamon Rolls, but it is written without an overnight chill in the fridge and they all made in one giant half sheet pan (this is the pan I used) instead of two smaller pans. This is perfect for feeding a crowd, or if you just like to have a big pan of cinnamon rolls for your family to work on for a couple of days!
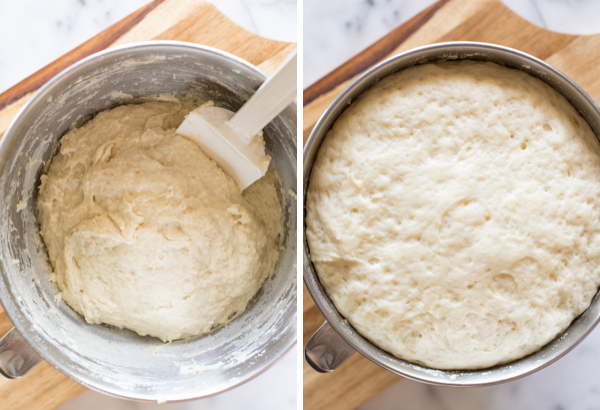
After mixing the yeasted dough by hand, you’ll let it rise in the bowl for about an hour. See how puffy it gets?!? Magic.
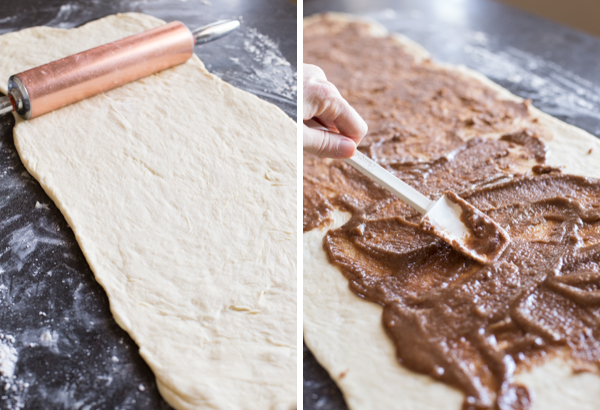
Then you’ll punch it down, and roll it out into a large rectangle on a well-floured surface. You’ll need a good stretch of counter space to do this, so make room! Spread that cinnamon, brown sugar butter all over it, and roll it up!
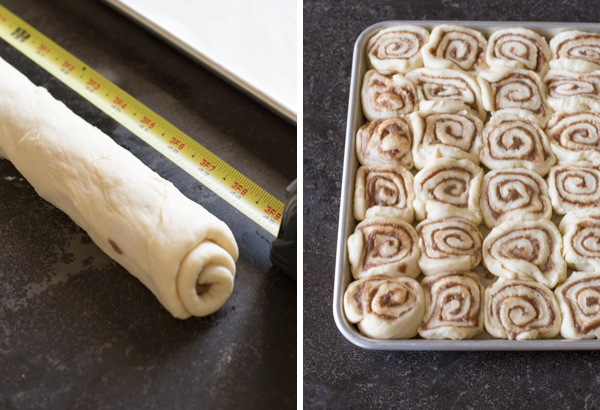
Wrap a piece of dental floss around the dough and cross the ends over each other to slice without squishing. This dough is pretty soft (which makes the end product super tender) so if you use a knife, the rolls might come out a little misshapen. But no worries, they’ll still taste amazing!
Tuck those babies into their sheet pan, cover them with a clean kitchen towel, and let the dough rise one more time while the oven preheats.
Bake them until they are golden brown and don’t forget to drizzle the vanilla icing. That bit of brown sugar in the filling caramelizes in the oven and makes these Sheet Pan Cinnamon Rolls extra special.
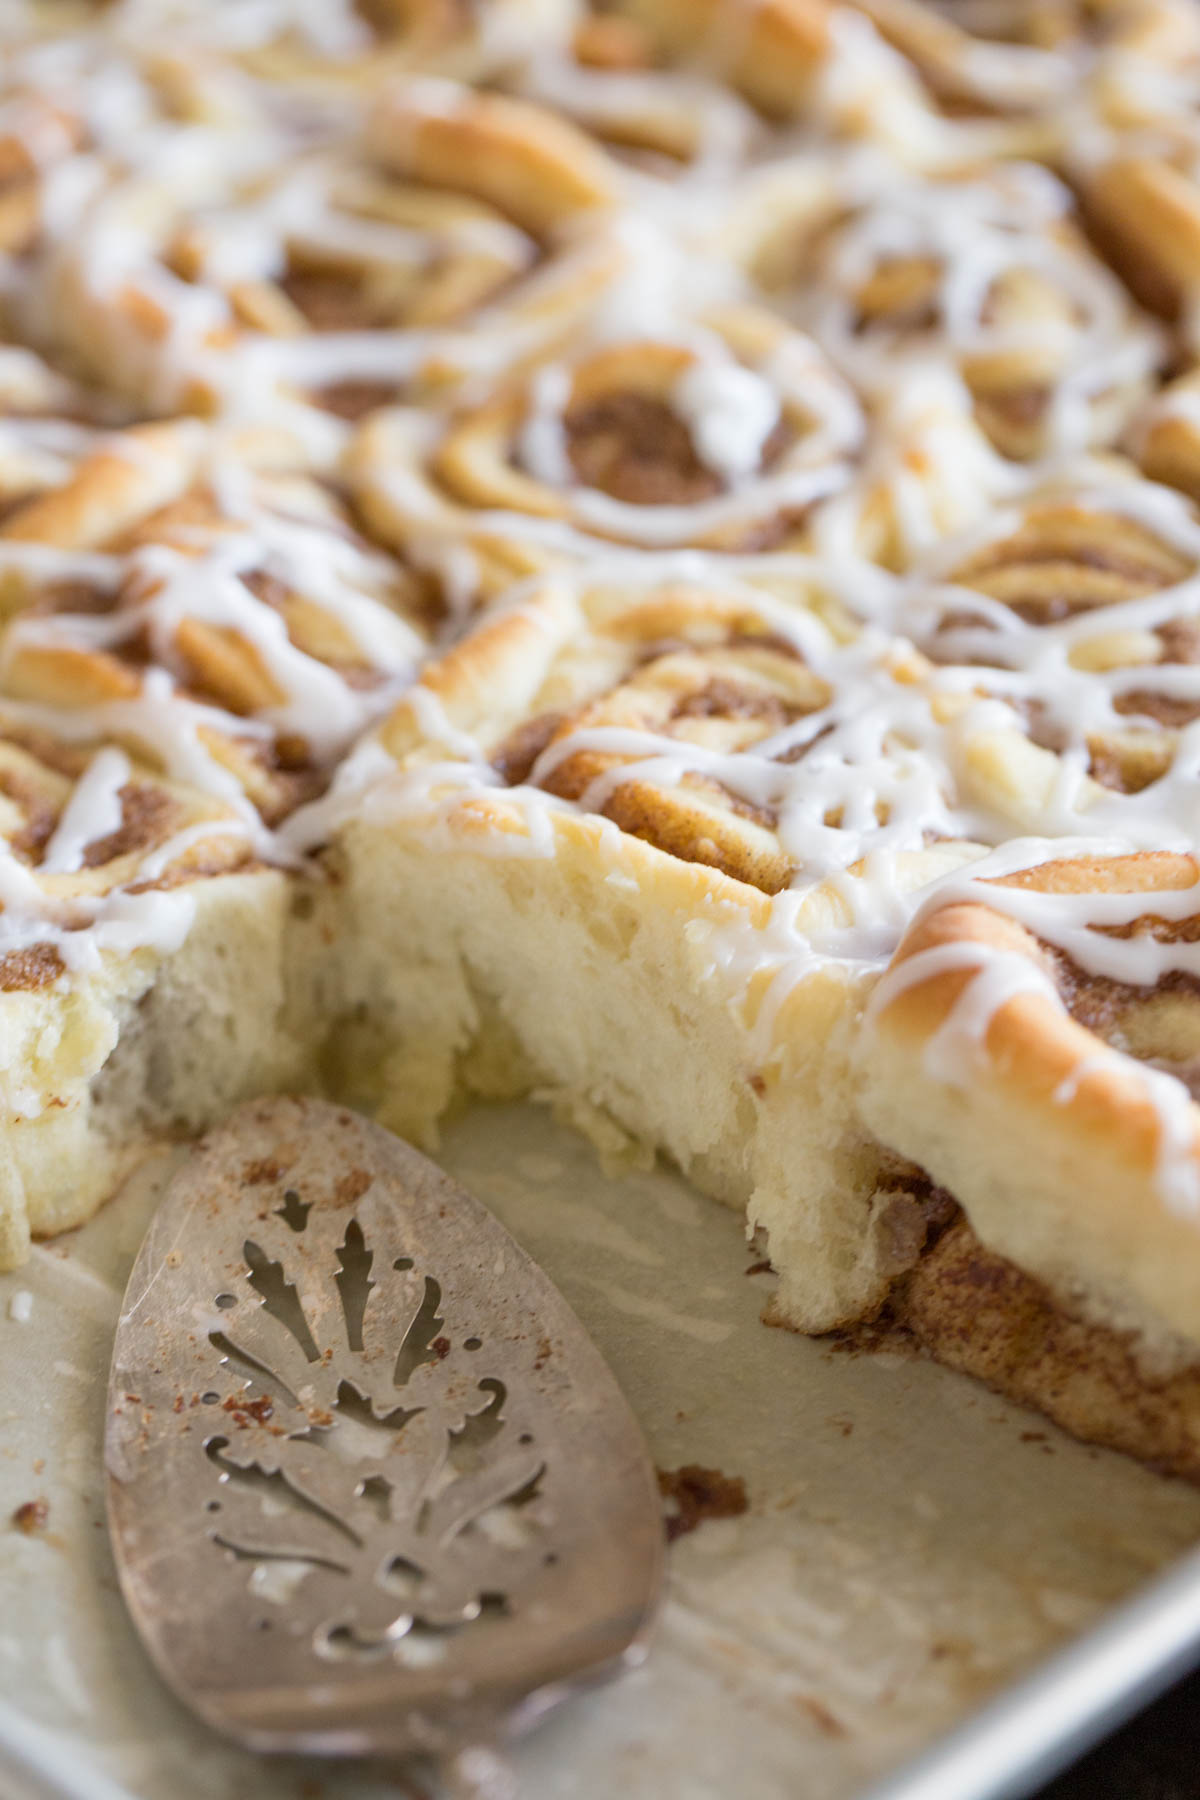
These Sheet Pan Cinnamon Rolls are really fun to make, and the more you practice, the easier they get! They truly are so buttery and tender, and make any weekend morning cozy and delicious!
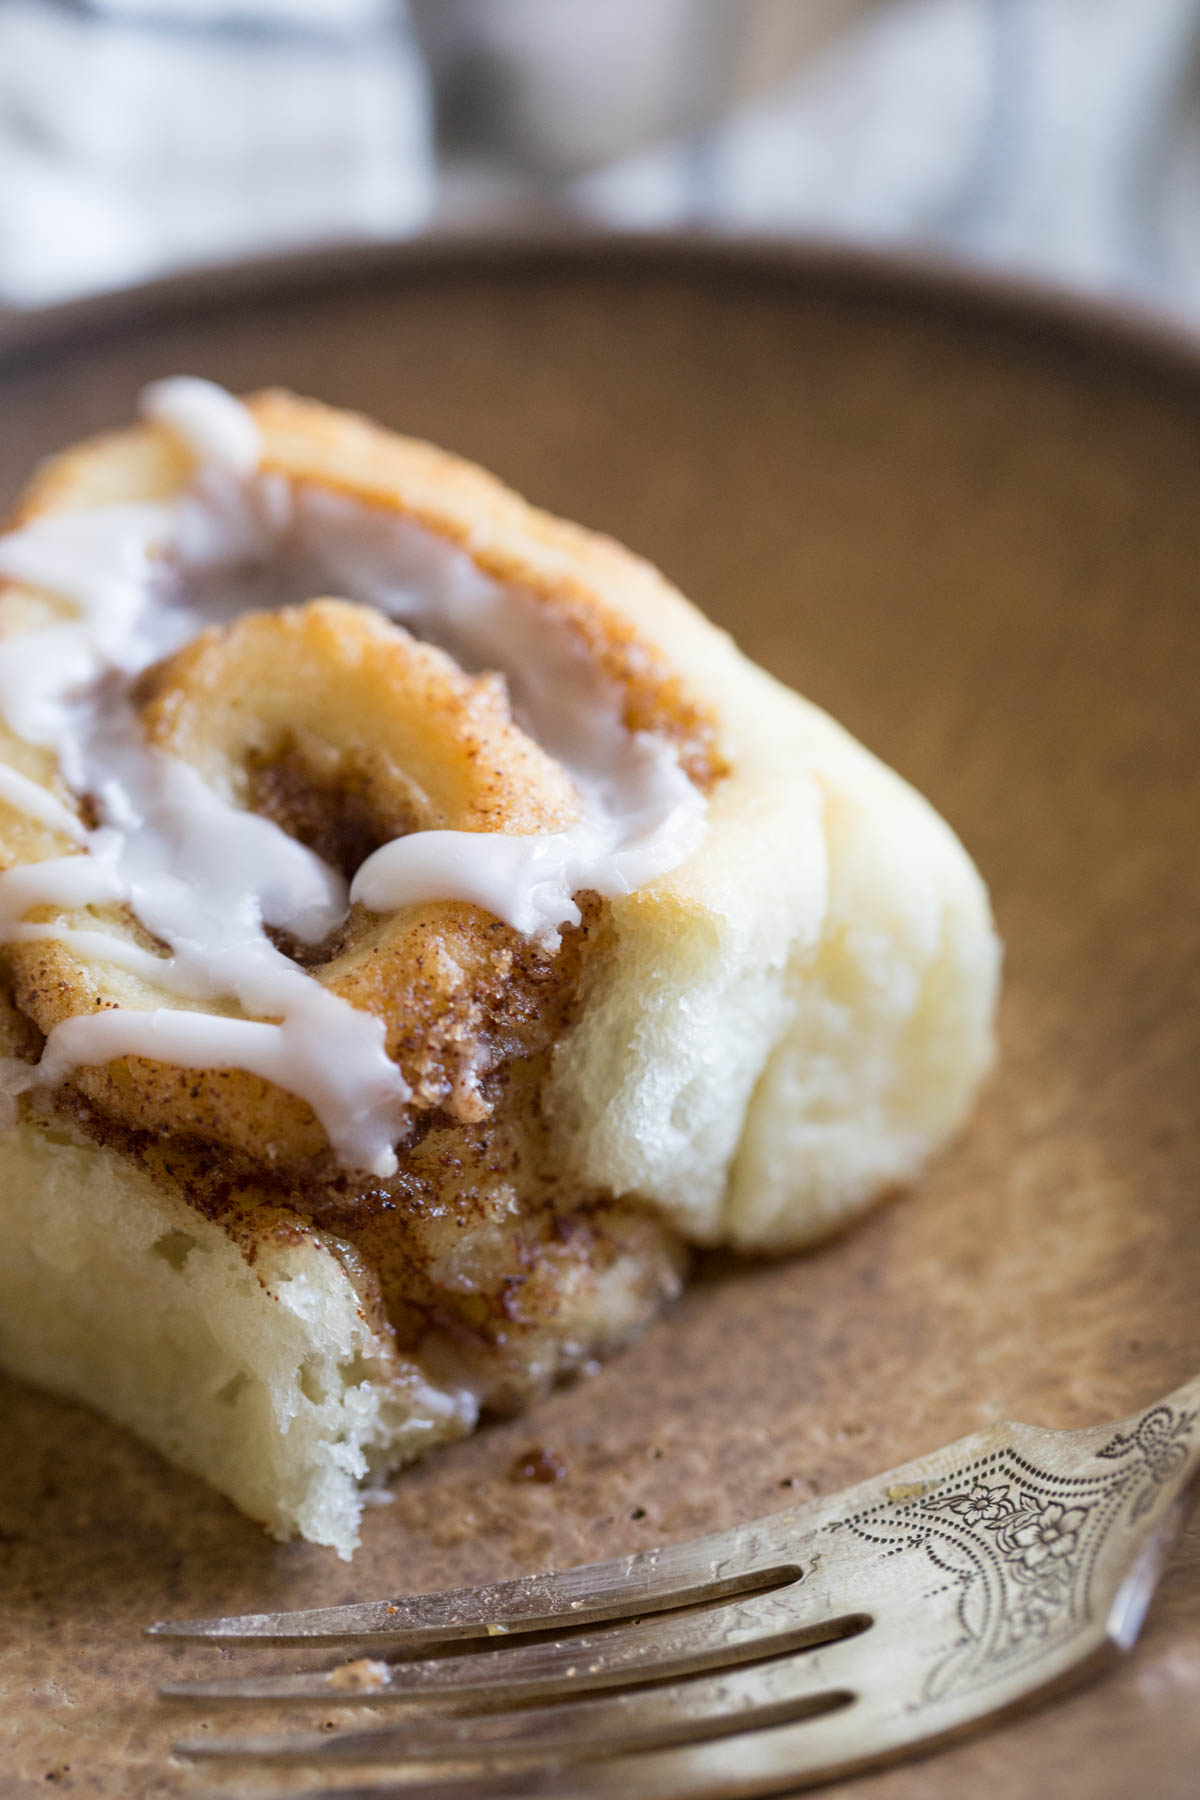
Sheet Pan Cinnamon Rolls
How to make the best Sheet Pan Cinnamon Rolls with step by step pictures. You and your family will adore these, just like we do!
- Prep Time: 2 hours
- Cook Time: 27 mins
- Total Time: 2 hours 27 mins
- Yield: 42 rolls 1x
- Category: Bread
- Method: Bake
- Cuisine: American
Ingredients
For the Dough
- 2 1/4 teaspoon dry active yeast
- 2 tablespoons warm water
- 2 cups warm milk
- 1/2 cup granulated sugar
- 1/4 teaspoon salt
- 1 egg beaten
- 5 1/2 – 6 cups all purpose flour
- 3/4 cup melted butter (warm, not hot)
For the Filling
- 3/4 cups almost melted butter
- 3/4 cups brown sugar
- 3/4 cups granulated sugar
- 3 tablespoons ground cinnamon
For the Icing
- 2 cups powdered sugar
- 2–3 tablespoons milk (more if needed by the 1/2 teaspoon)
- 1/2 teaspoon vanilla extract
Instructions
- Line a half sheet baking pan with parchment paper and set aside.
- In a large bowl, mix yeast and warm water together and let sit for 5 minutes.
- Stir in warm milk, sugar, salt and egg and mix by hand.
- Add three cups of the flour, and mix until smooth.
- Pour in melted butter and stir until incorporated.
- Gradually add 2 1/2 more cups of flour and mix by hand. This will take some muscle!
- Add the remaining cup of flour and stir. The dough should be sticky, but pulling away from the side of the bowl.
- Cover the bowl with a clean kitchen towel, and place in a warm place (near a window, on top of the oven) to rise for 1 hour.
- Punch the dough down, and pour out onto a well-floured surface. Have extra flour nearby to add as needed.
- Roll out the dough, making sure it is not sticking to your work surface and adding flour as needed to about 12 inches by 42 inches.
- Mix up the filling until smooth, and the spread evenly over the dough.
- Roll up the dough, starting from the long end.
- Using a piece of dental floss, cut 1 inch sections of dough* from the roll and place them onto your baking sheet. You will have seven rows of six rolls to equal 42 rolls.
- Cover the rolls with a clean kitchen towel and let rise while the oven preheats to 350 degrees for 15 minutes.
- Bake @350 degrees for 22-27 minutes. You will want the tops of the rolls to be golden brown. If they are not golden, the rolls in the very middle of the pan may still be doughy underneath.
- Let the rolls cool in the pan for 5-10 minutes while you mix up the icing, and then drizzle icing (I put mine in a Ziploc bag and snip a tiny bit of the corner) over the rolls.
Notes
*To cut the dough with dental floss, place a 10 inch piece of floss underneath the roll of dough where you want to cut. Bring the two ends up around the dough and cross them, the pull tightly to sever the dough without flattening it.
A serrated knife will work as well, but does tend to flatten the roll more than the dental floss.
Nutrition
- Serving Size: 1 Roll
- Calories: 189
- Sugar: 14g
- Sodium: 75mg
- Fat: 7.1g
- Saturated Fat: 4.4g
- Unsaturated Fat: 2.1g
- Trans Fat: 0.3g
- Carbohydrates: 29g
- Fiber: 0.8g
- Protein: 2.6g
- Cholesterol: 23mg
Julie, this is a great recipe which is easy to follow! The rolls look so unreal delicious. I see myself biting into these fluffy little rolls.
Thank you Sabine! Hope you do get the chance to make these!
Can the recipe be halved? : )
~Melinda
Melinda,
If you would like a smaller batch, I would recommend this recipe. You don’t have to make them the night before, just follow the recipe as written but let the rolled buns sit covered in a warm place for about 20-30 minutes before baking instead of placing them in the refrigerator. Sorry just now getting to your question. Enjoy!
https://lovelylittlekitchen.com/overnight-cinnamon-rolls-cream-cheese-frosting/
So this is supposed to say “Sheet Pan Cinnamon Rolls for ONE”, right? Riiiight 😉 But really, these look SO good. Can totally picture my entire family diving in headfirst on a Saturday morning!
Yes Karly, my mistake! I’m sure I’d have no trouble polishing them off myself (given I had plenty of coffee to go with). I hope you get the chance to try them!
These look amazing! Have you tried making them the day before to bake in the morning? I was thinking I could try putting them in the fridge once they’re sliced and taking them out to come to room temp and rise before baking…?
Thank you! Yes, that should work – I haven’t done that with this specific recipe but similar ones… let me know how it goes if you try it!
Just made these! Thanks for the recipe!
Thank you Nancy!
Oh, they’re sooo soft! Thanks for the tip about making sure that they are golden brown! My center roll was indeed under cooked. I put the dish back into the oven, left it on warm, and it finished beautifully! We’re enjoying these, ty so much!
So glad you love them!
What is the size and brand of your sheet pan?
The sheet pan I use is a half sheet in size and the brand is Mrs. Anderson’s Bakery
And it takes to batches of bread to fill it👌🏽 These are the most amazing cinnamon rolls ever they are a big hit at the bake sales!! Thank you for sharing💜
These look so good! Please tell me there’s a good way to make them dairy free….the dairy free cinnamon rolls I’ve tried so far have been very disappointing…
Roll out to 12″x42″???.who the heck has this much counter space. Geez, c’mon.
Thank you so much!! I’m 14 and I’ve made this a few times for my siblings. Every time they have turned out delicious. However, I omitted step 7 as by that time I had used all 5 1/2 cups of flour and my dough was the perfect consistency, and as I didn’t have this specific pan I just used a regular baking sheet which worked perfectly.
350 degrees what?
Fahrenheit? Celsius?