
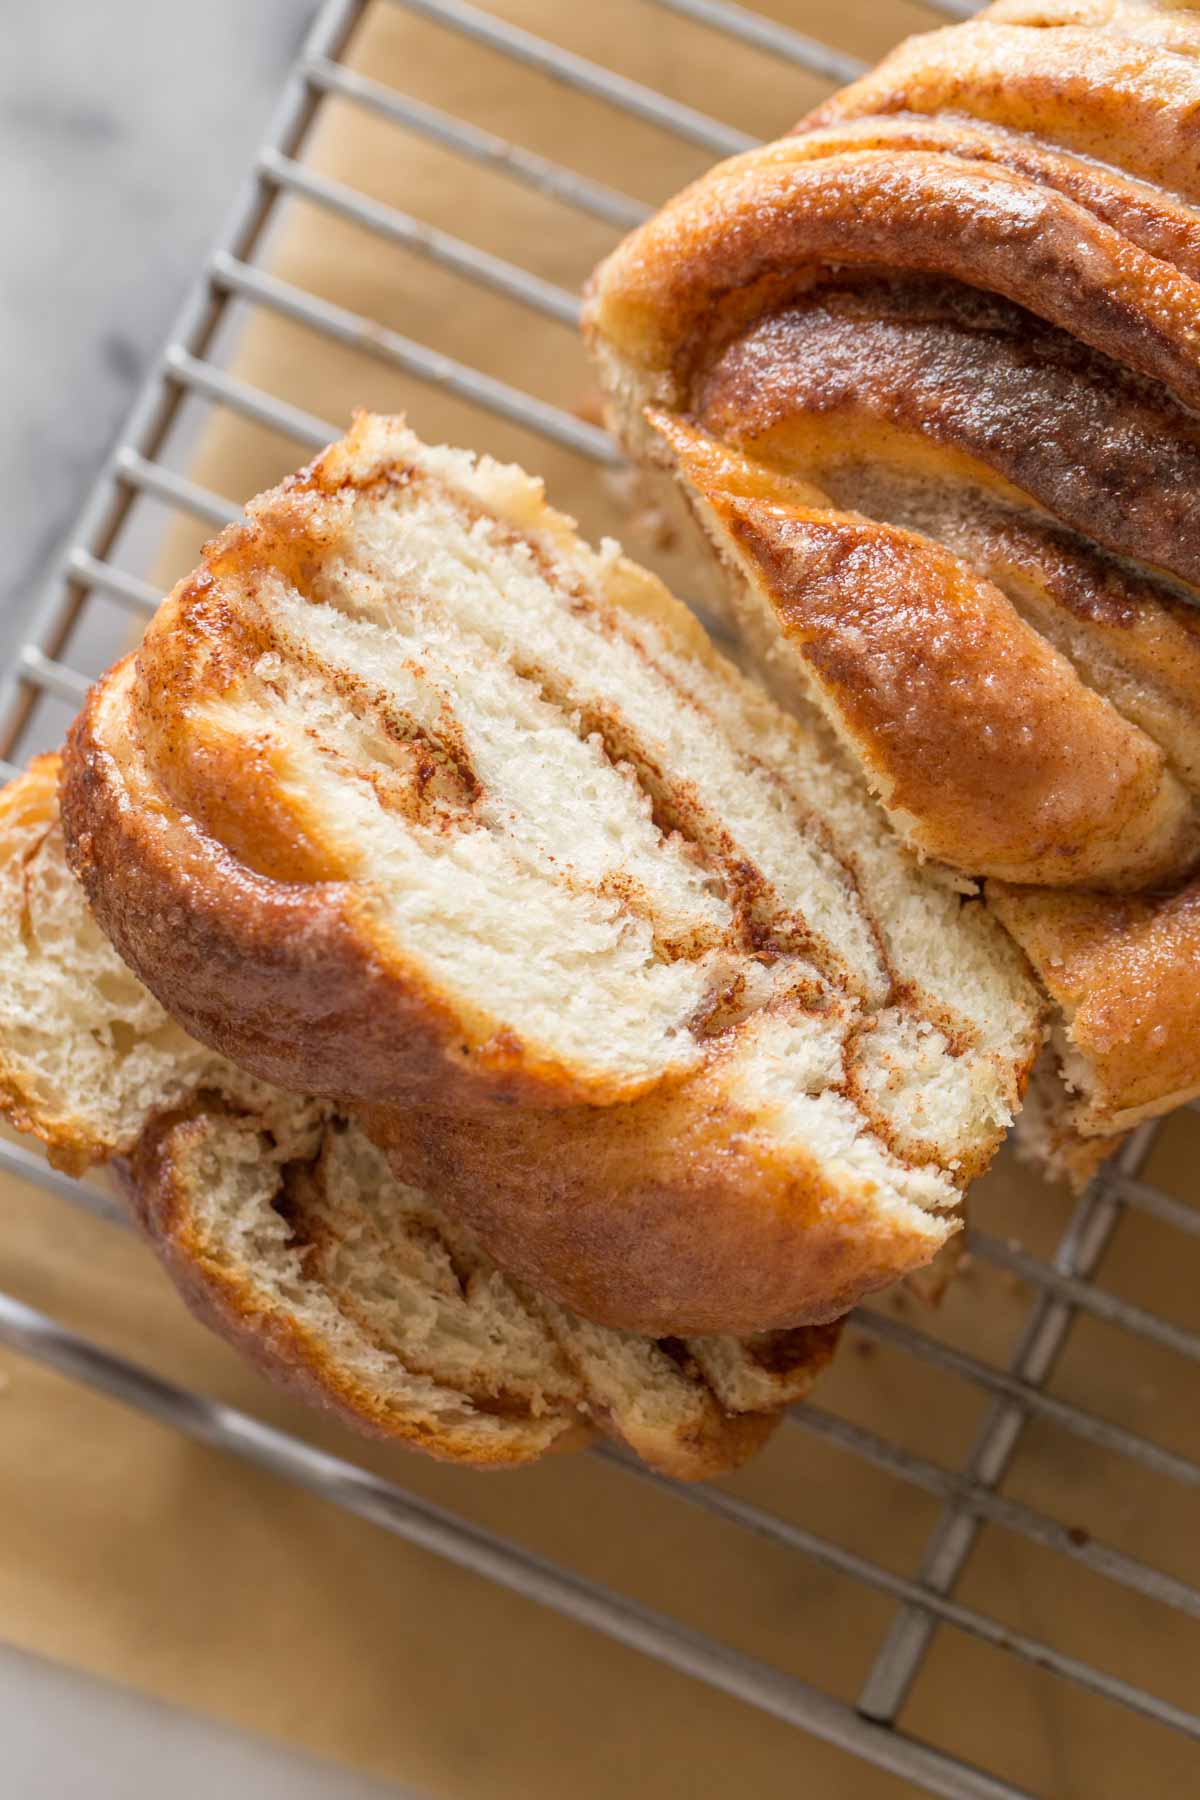
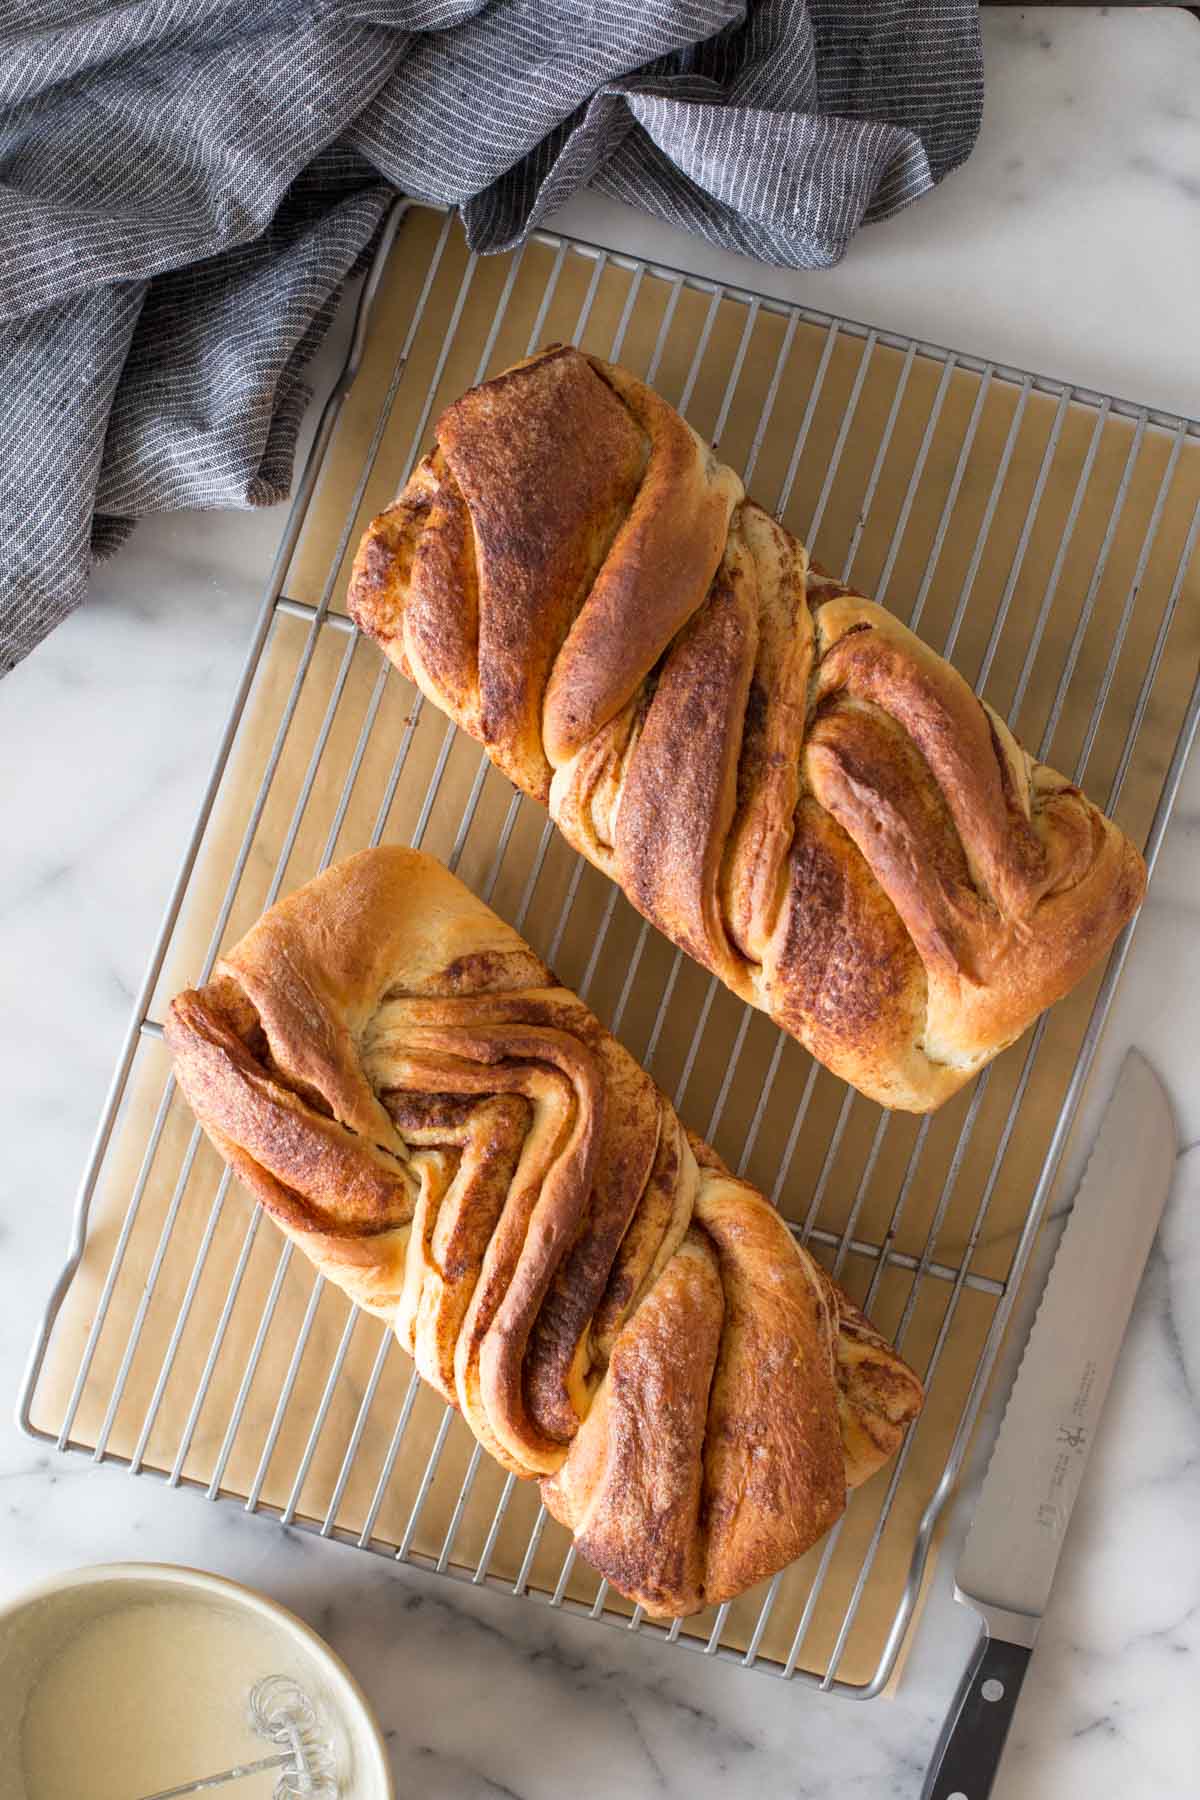
This is my most beloved Cinnamon Roll Recipe, reworked a bit to make two glorious loaves of Cinnamon Twist Bread. I’ve been working on it for the last month, making sure everything is just right, and every time I pull them out of the oven we gather around and devour them. They take a bit of effort, but you can absolutely handle them! Be sure to watch the step by step video at the bottom of the post so you can join me in the kitchen!
Tips For Working With Yeast
If you are new to working with yeast, here are a few tips to help you succeed. Always check the date on your yeast, and if it’s expired don’t use it. This calls for active dry yeast, which is different than rapid rise or instant yeast. Yeast is happiest when mixed with slightly warm ingredients. Make sure your milk and butter are the temperature of bathwater, and your egg is at room temperature.
When you are waiting for the yeast to rise, cover the dough, and then place it in a warm spot. Some ovens have a “bread proof” setting, and I like to use this, but still keep the oven slightly open. You can also turn the oven light on for warmth if you don’t have that setting.
I always mix my cinnamon roll bread dough by hand. I know the mixer is very handy, but I find that the bread turns out so incredibly soft and tender when mixed by hand. A Danish dough whisk is very helpful in bringing your dough together, but of course, a wooden spoon or rubber spatula will do the trick too.
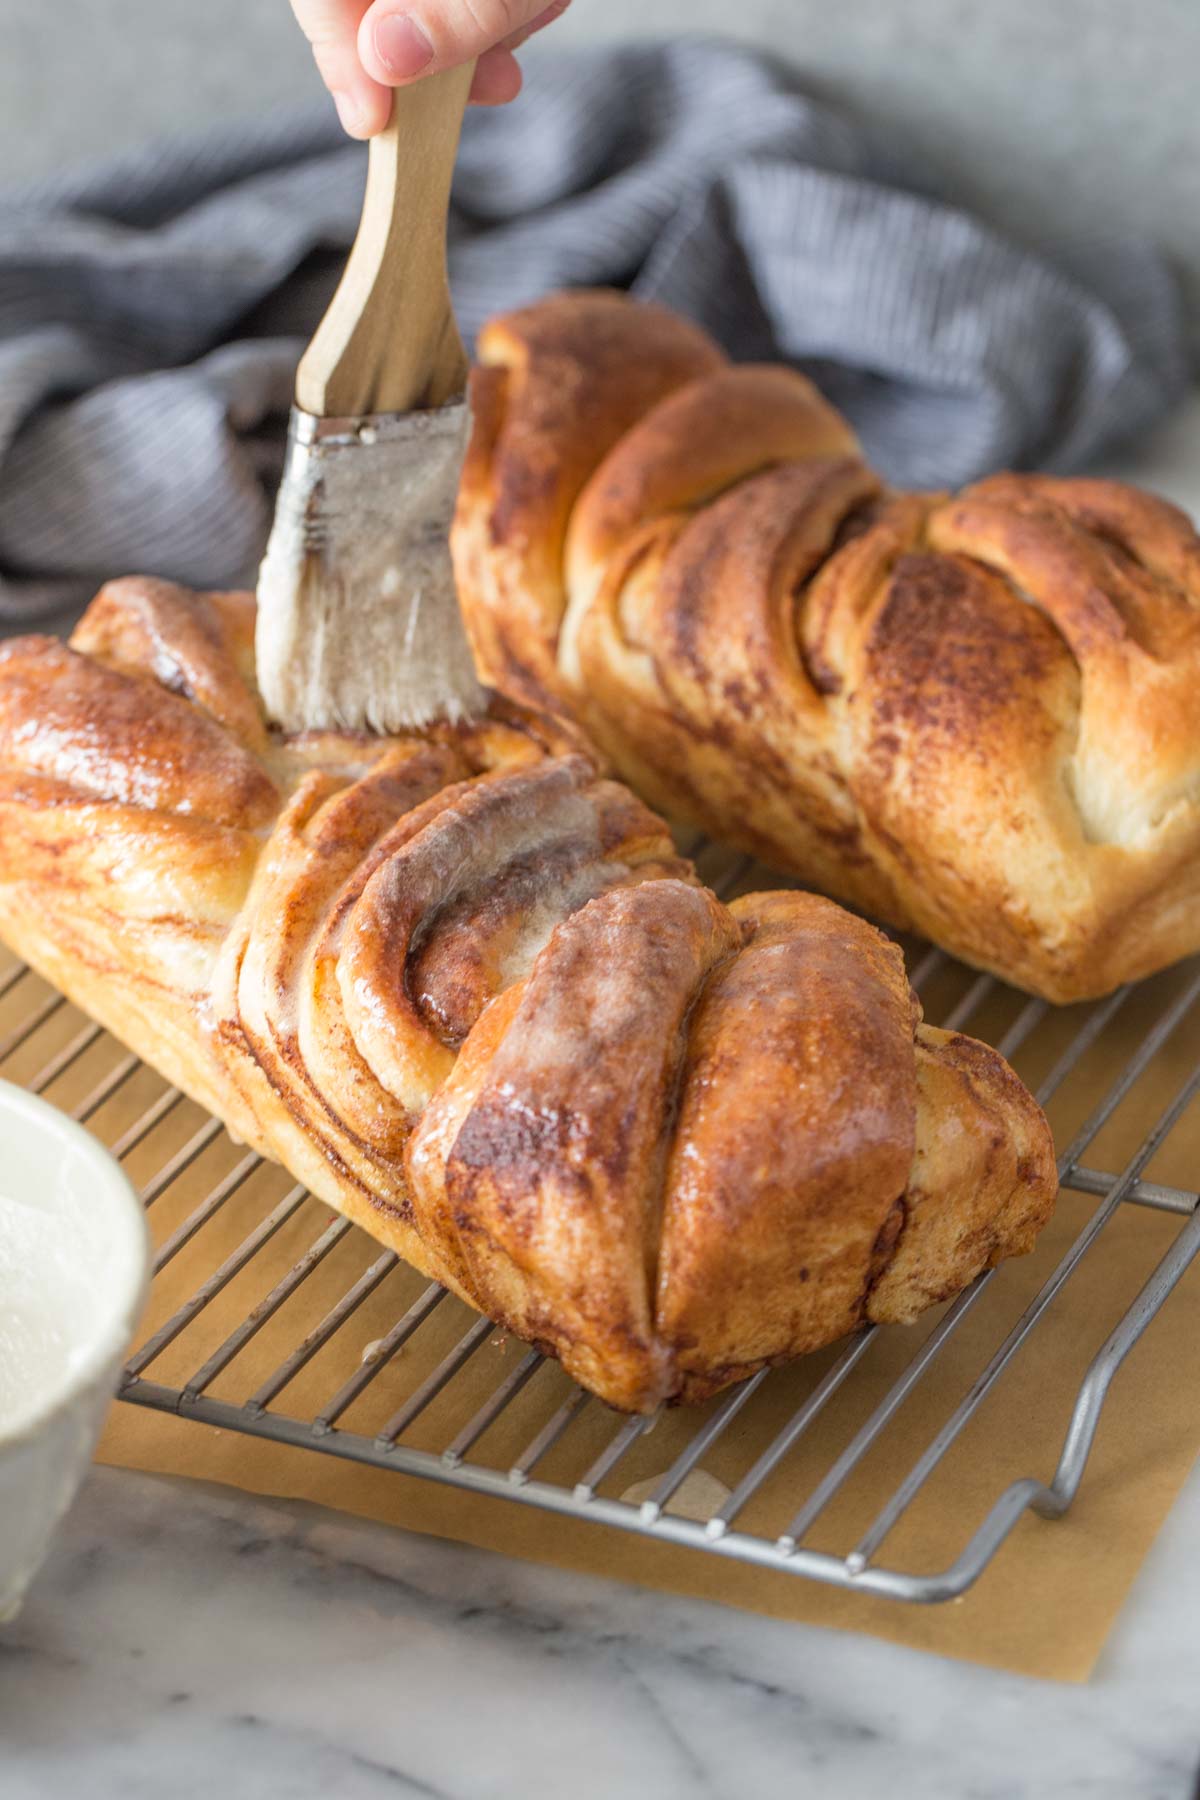
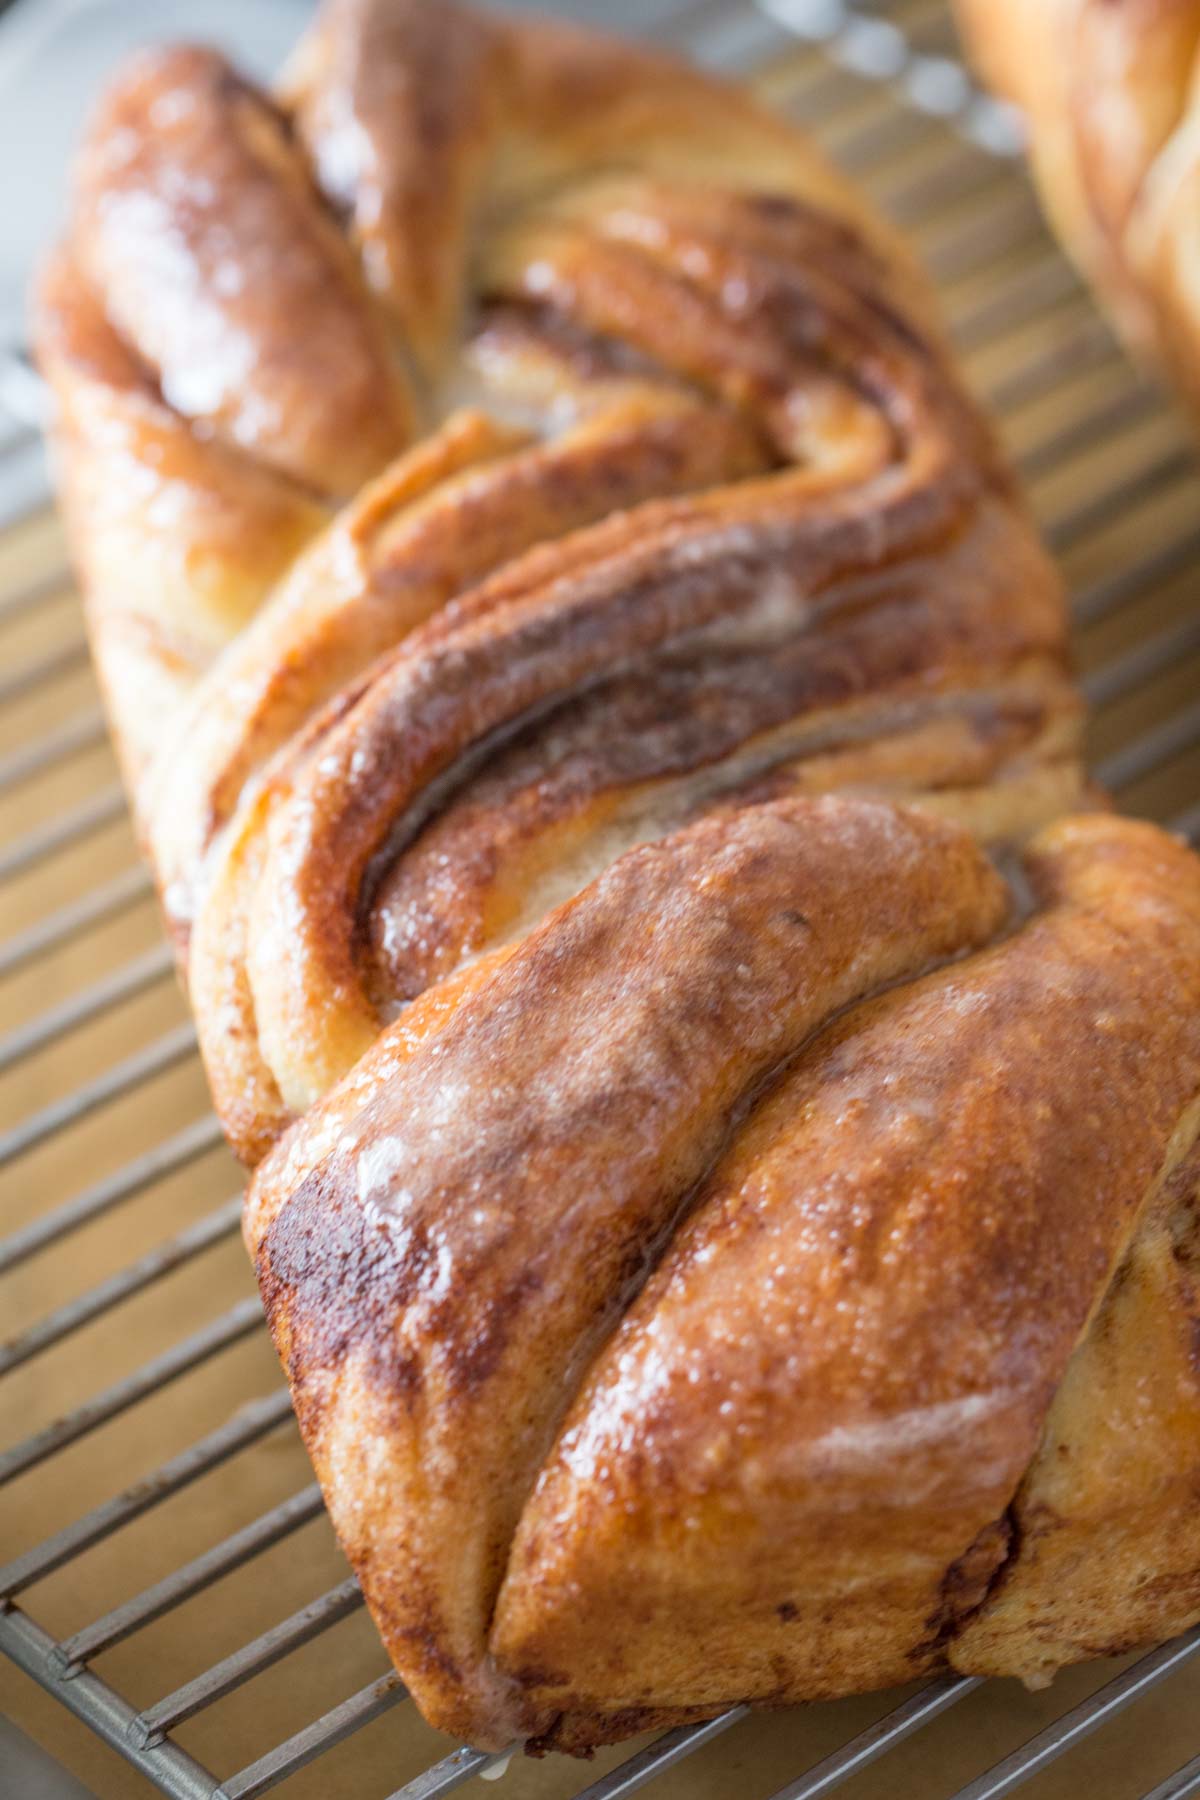
Be sure to ice your Cinnamon Twist Bread when you are ready to serve it. It still tastes delicious the next day, but it does get pretty sticky when you try to store the iced bread.
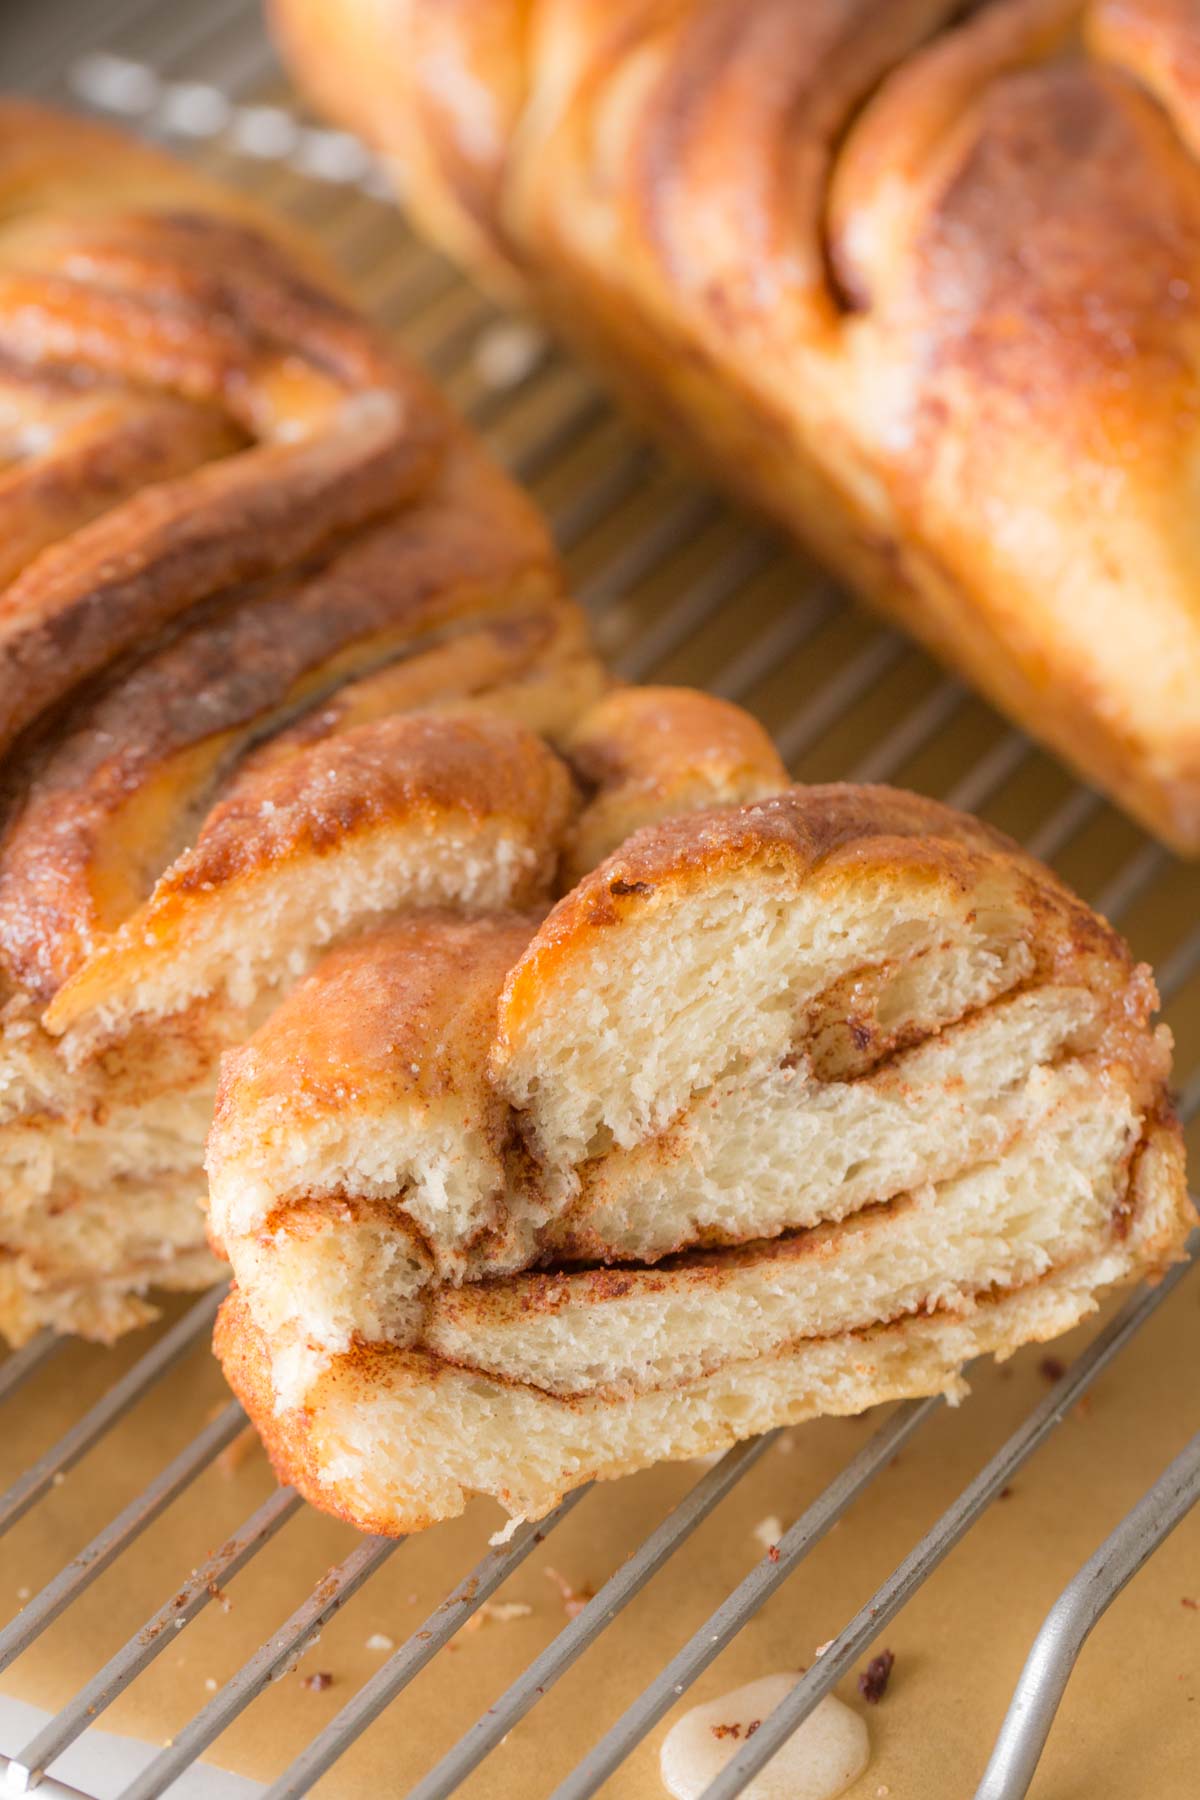
Many of you LLK bakers love overnight recipes that can be partially prepared the day before. I haven’t tried making the dough for this recipe the night before yet. I think it may be easier to just bake the bread the night before, and then wrap it in foil and the next morning, warm it up in the oven for 5-10 minutes, add the icing, and serve warm.
I hope you’ll try making these Cinnamon Twist Loaves soon, especially as the weather cools off and family and friends start to gather again. As always, feel free to ask any questions in the comments below.
Cinnamon Twist Bread

This Cinnamon Twist Bread is super soft and tender, with ribbons of cinnamon and sugar throughout and a buttery vanilla glaze on top!
- Prep Time: 2 hours 30 minutes
- Cook Time: 30 minutes
- Total Time: 3 hours
- Yield: 12 servings 1x
- Category: Bread
- Method: Bake
- Cuisine: American
Ingredients
For the Dough
- 1 1/2 teaspoons active dry yeast
- 2 tablespoons warm water
- 1 cup warm whole milk
- 1 egg
- 1/4 cup granulated sugar
- 2 1/2 – 3 cups all-purpose or bread flour, divided and added gradually
- 1/3 cup melted butter
- 1/2 teaspoon salt
For the Filling
- 4 tablespoons butter, softened
- 1/3 cup granulated sugar
- 1–2 tablespoons ground cinnamon
For the Icing
- 1 cup powdered sugar
- 1 tablespoon melted butter
- 1/2 teaspoon vanilla extract
- 1-2 tablespoons water
Instructions
For the Dough
- In a large bowl, whisk the yeast and warm water together. Add warm milk and whisk again.
- Add egg and sugar, and whisk until combined.
- Add one cup of flour, whisk, and then add the melted butter.
- Add another cup of flour, and salt, then whisk until all the flour is incorporated. Continue adding another cup of flour, a bit at a time, whisking as you go, until the dough pulls away from the side of the bowl when stirred, but is still a bit sticky. I use between 2 1/2 – 3 cups of flour in total for the whole recipe.
- Cover the dough and let rise in a warm place for one hour, or until doubled in size. In dry climates, cover with plastic wrap airtight so that the dough won’t dry out.
To Assemble
- Prepare two standard size loaf pans by lining them with parchment paper and spraying with nonstick spray. Set aside.
- Pour the dough out onto a well-floured surface. Pat it into a loose rectangle, and then roll it out to a rectangle (about 22 by 15 inches). Dust with flour as needed, and check to see if the dough is sticking to the work surface as you roll.
- Brush the top of the dough with the softened butter, and then sprinkle the sugar evenly over the butter. Sprinkle ground cinnamon over the sugar.
- Starting from the long end furthest away from you, roll the dough up, tightening as you go. Seal the final edge of the roll by pinching the dough together.
- Cut the roll into two 11 inch pieces, and then cut each piece lengthwise, leaving the last inch of the dough intact on one end.
- Twist the two cut strands around themselves, and then invert the ends and tuck them under. Place the twisted dough into the prepared loaf pans.
- Cover and rise again in a warm place for one hour, or until the dough has doubled in size.
- When the loaves have just about risen, preheat the oven to 350 degrees. Place them on the rack positioned in the middle of the oven, and bake for 30-35 minutes. The top will be dark golden brown.
- Allow the loaves to cool in the pan for 10 minutes, then transfer to a cooling rack.
For the Icing
- In a small bowl, whisk together powdered sugar, melted butter, and vanilla. Add water, a tiny bit at a time, whisking until the icing is the consistency desired. When it falls off the spoon in a ribbon, it is just right.
- Drizzle or brush the icing over the slightly cooled cinnamon twist loaf. The icing will set as the bread cools. Slice and serve. If not serving right away, the bread is best stored in a bag without icing as it will become very sticky.
Notes
Be sure to watch the Cinnamon Twist Bread video in the post for step by step instructions and extra helpful tips!
Nutrition
- Serving Size: 1 Serving
- Calories: 308
- Sugar: 20g
- Sodium: 183mg
- Fat: 12g
- Saturated Fat: 6.8g
- Unsaturated Fat: 3.6g
- Trans Fat: 0.4g
- Carbohydrates: 46g
- Fiber: 1.6g
- Protein: 5.6g
- Cholesterol: 44mg
Can instant/rapid rise be used instead of active yeast? As I’m sure you know getting any type of yeast can be a challenge during these times!
Great question! Yes, I know these staples can be hard to find. I have never worked with instant yeast before, so I’m not sure on how the timing of the first and second rise. If you have some experience with this type of yeast already, I’m sure you will do just fine! Please let me know how it goes.
Hi, I am curious as well if you can use instant yeast. ( or rapid rise) I have lots of both of these types but not the active yeast.
You have the heart of a teacher! You have given me the courage and knowledge to try this delicious-looking cinnamon bread for my family. I can hardly wait to report back how it turns out. Thanks for sharing your recipes with me.
Thank you so much, Jeanie! I hope your family enjoys the bread. Happy baking!
Is a standard loaf pan 9 “ x 5”? Not sure on the size you used. Can’t wait to try this recipe!
Hi Becky, thanks for that question – Yes, 9 by 5 inches is standard… the pans I used are vintage (so an odd size) and they are technically 10.5 by 5 inches. Your bread may rise higher in the pan as a result.
Those bread loaves look amazing! And thanks for sharing the tips for working with yeast and dough, they are very useful. I will definitely try this recipe soon!
I saw my daughter posting a picture of her cinnamon bread, so i thought i sould also try. My kitchen smells so good, i cant wait till it cools a bit more, so i can add the icing and have a slice.
Thank you so much Melissa!
Delicious! Made it yesterday and one loaf is already gone! I will add raisins next time for something different.
Thank you Brenda! So glad you liked this recipe.
I just made this soooo good thank you
So happy you loved it too!
Hi Julie, I have some frozen rhodes bread loaves to use. Can you tell me if a 1 pound loaf would work for one bread?
Thank you,
Jolie
Hello,
I made your cinnamon bread into mini hearts and they were good. I also made the dough overnight. I create the hearts added raisins and put in the refrigerator. Next day let them come to room temp. Baked well. Here is on YouTube a video on how to shape. https://m.youtube.com/watch?v=Q0HO41mljvs
I printed out the recipe and also watched the helpful video but noticed the printed recipe doubled the ingredients. Just a heads up to anybody who prints it out.
Does the dough not need proofing?
If I bake in 2 standard loaf pans, what size should I roll my dough before applying the filling?